Call us: 03 9993 7196
 Opening hours: Mon - Sat: 8:00am To 9:00pm


How to Install Bird Netting: Step-by-Step Guide (Melbourne)

How to Install Bird Netting: Guide for Melbourne Homeowners
If pigeons are nesting under your eaves or sparrows are helping themselves to your veggie patch or fruit garden, netting is usually the most reliable fix.
But how to install bird netting properly comes down to three things: the right mesh, solid anchoring, and even tension across the whole area. Get any one of those wrong and birds will find the gap.
In this guide, we discuss all the tools you need, the step-by-step method, spot-specific tips for balconies, roofs, and gardens, what it costs in Melbourne, and when it's worth calling in a professional. Before we start learning about bird netting installation, here is a brief overview of what bird netting is and why we need it.
What Is Bird Netting?
Bird netting is a UV-stabilised HDPE mesh barrier that physically blocks birds from landing, roosting, or nesting in a space, without harming them. It comes in a range of mesh sizes: 5mm for wildlife-safe household use, 19mm for general bird proofing, and up to 50mm for larger pest birds like pigeons and seagulls.
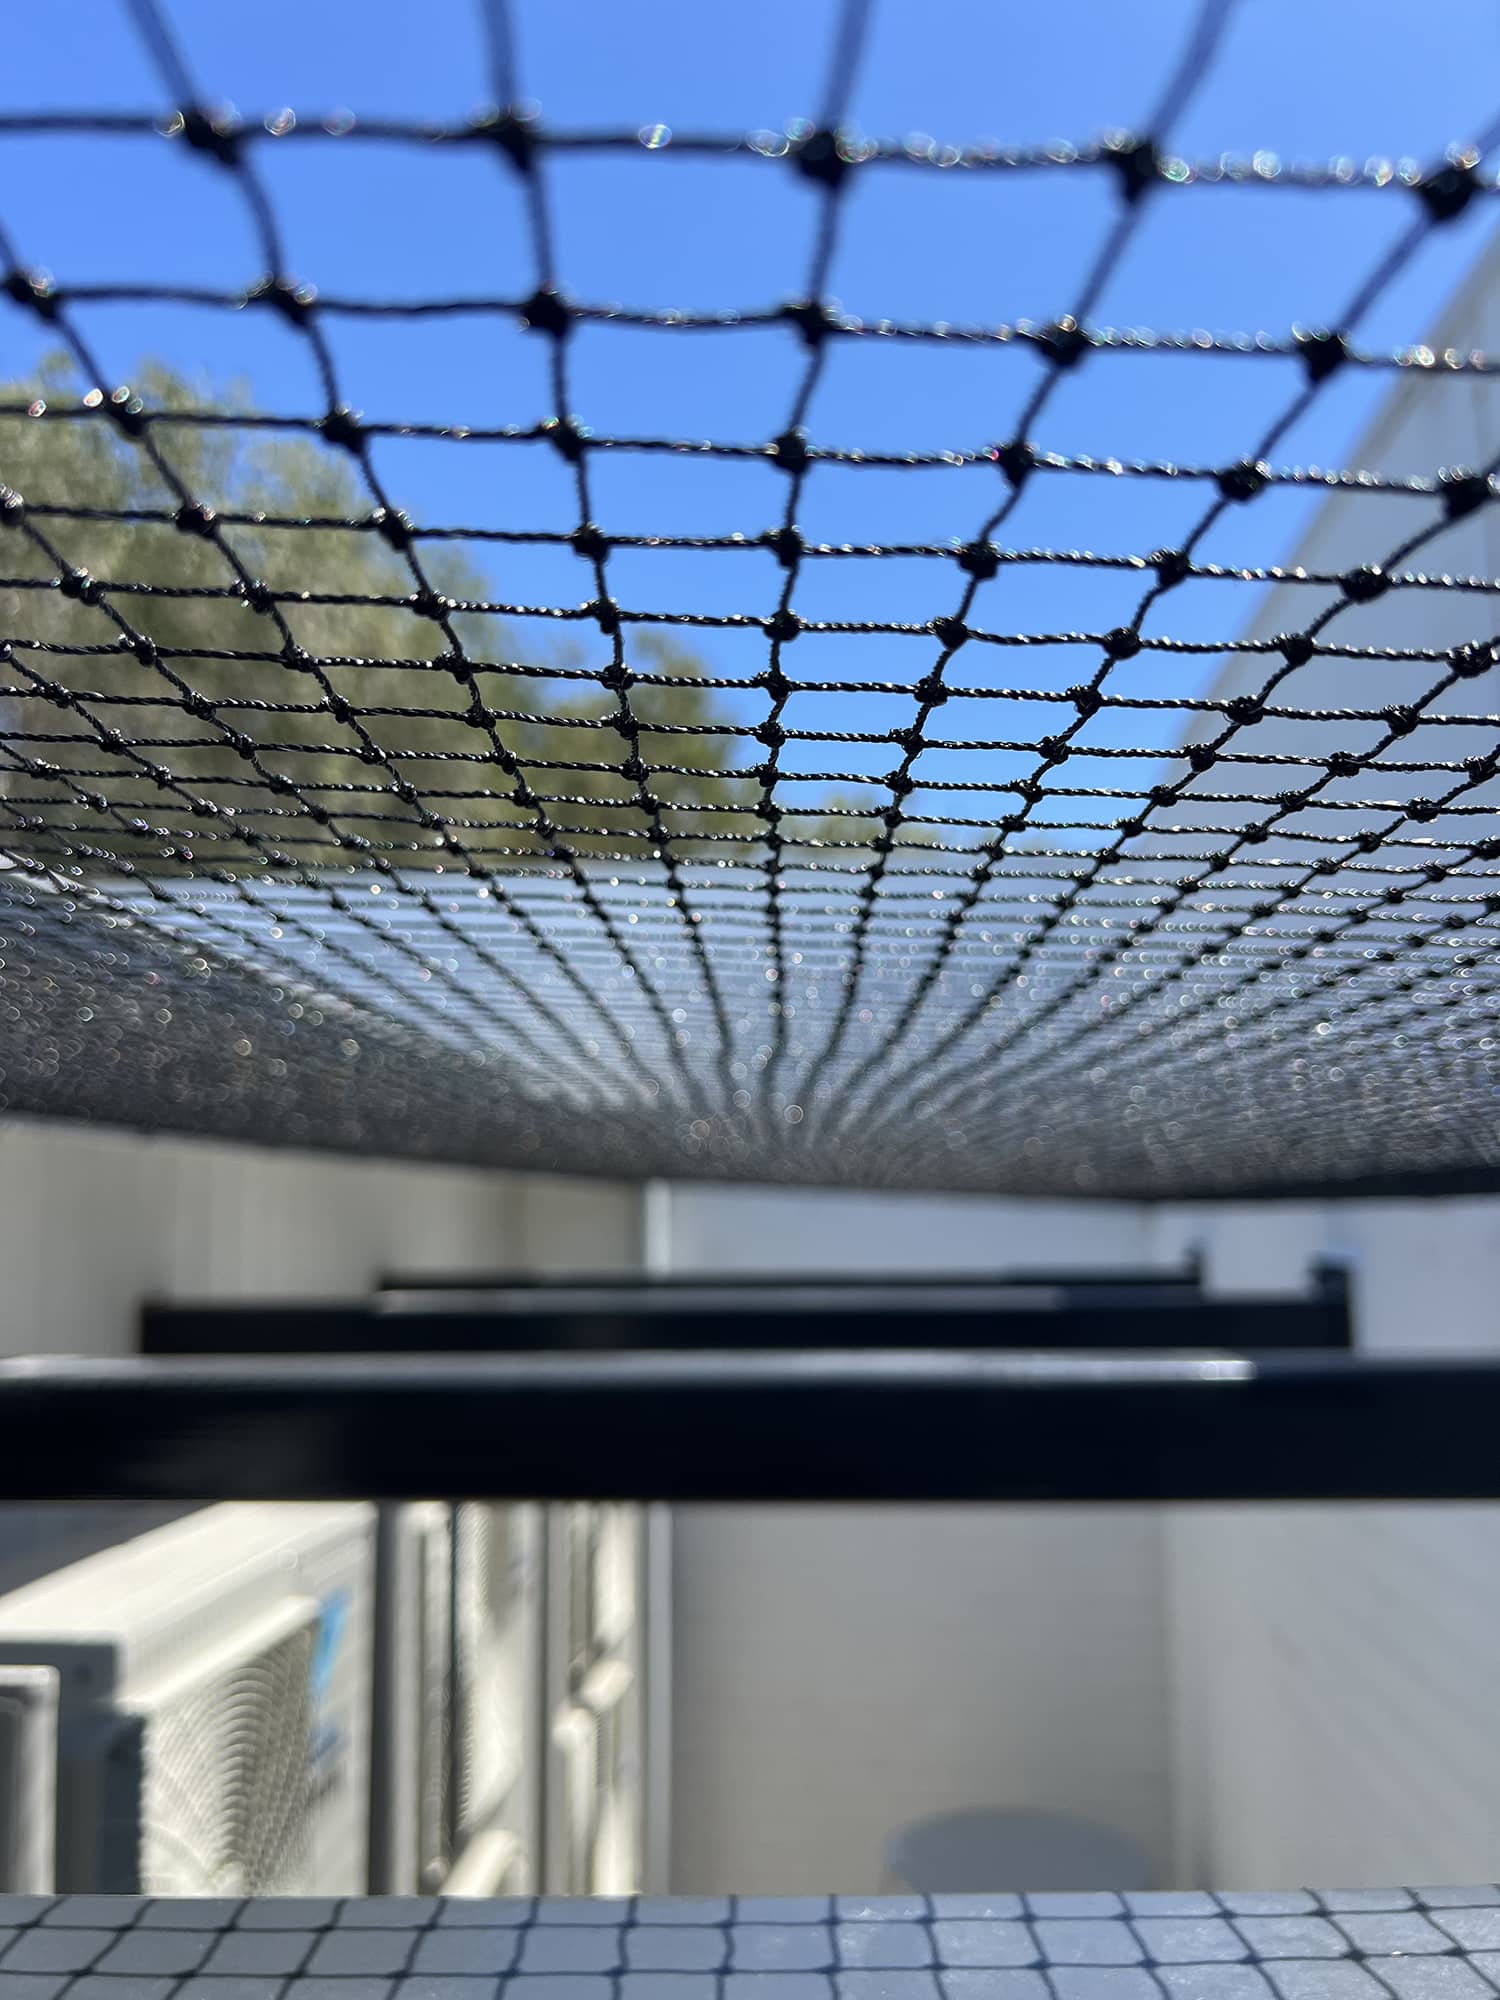
Once tensioned correctly, it's virtually invisible from a distance while remaining a permanent, low-maintenance barrier.
When Should You Install Bird Netting?
Spring is the ideal time to plan bird netting installation, before birds start scouting nesting sites for the season. For gardens and fruit trees, install before the fruiting period begins rather than after birds have already found the crop. Avoid disturbing any nest that's already active, as this is restricted under Victorian wildlife law.
Step-by-Step Guide: How to Install Bird Netting
Follow these steps in order, and take the time to get each one right, since a rushed step early on is what causes gaps or sagging later.
- Measure and Plan the Area: Measure the full perimeter and add a small buffer for fastening. Check what the netting will anchor to, whether that's brick, timber, metal framing, or a gutter line, since this determines which fixings you'll need.
- Install Corner and Intermediate Anchors: Fix heavy-duty corner anchors first, as they carry the most load once the cable is tensioned. Then space intermediate fixings every 30 to 100cm depending on the target species, tighter for sparrows, wider for pigeons.
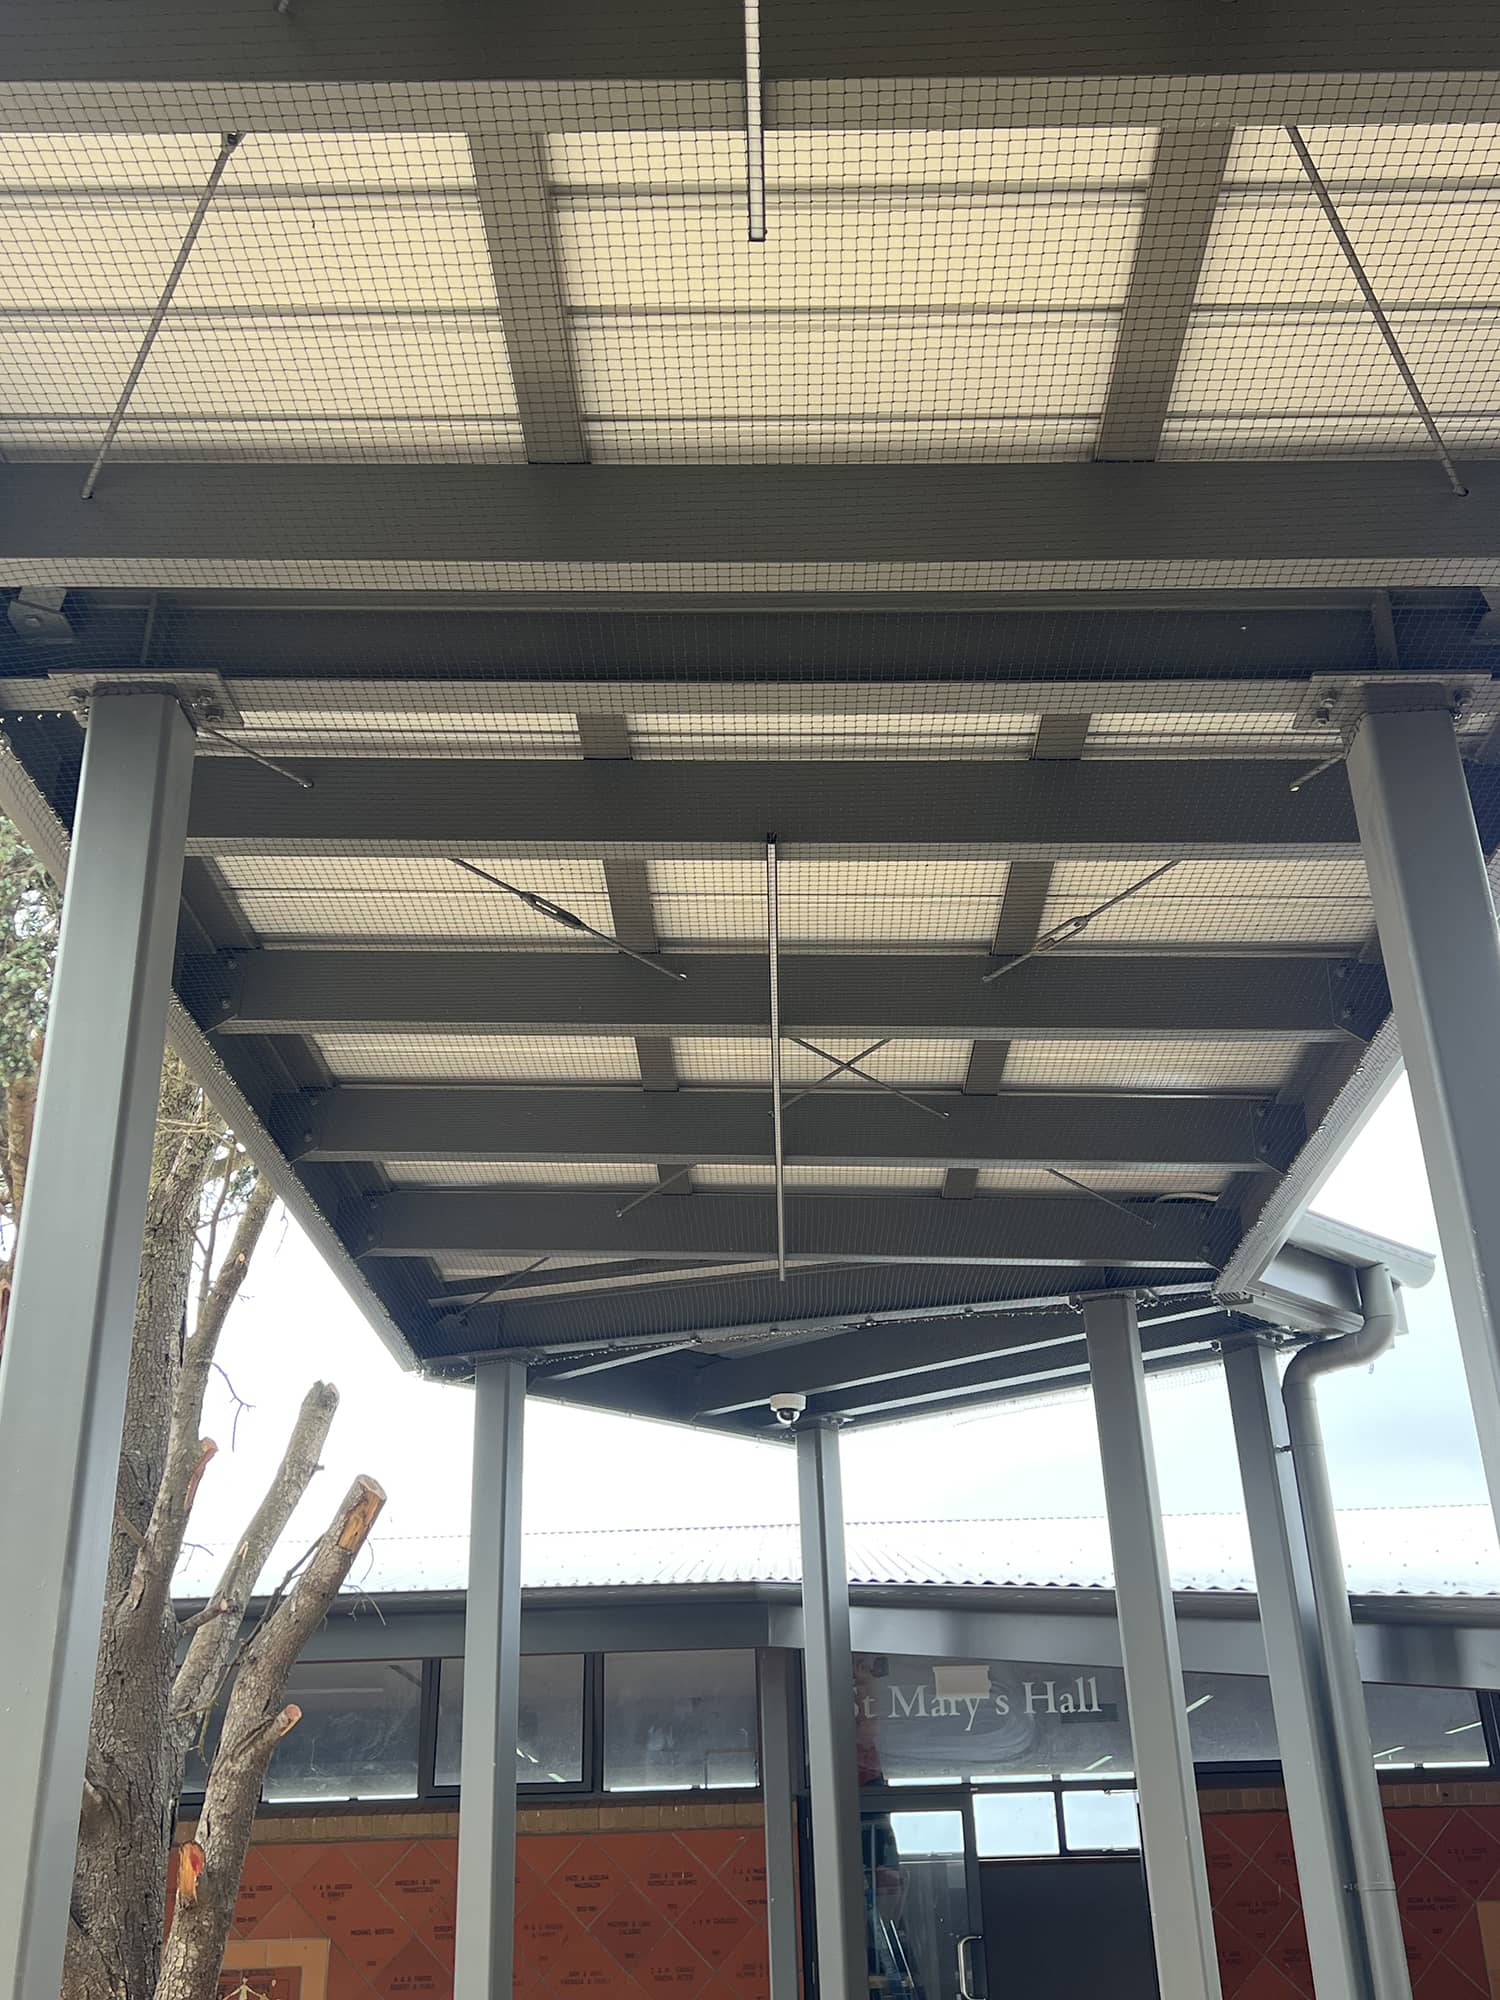
- Run and Tension the Support Cable: Thread stainless steel wire rope through the fixings, secure it at the corners with ferrules, then tighten with turnbuckles until the line is firm and doesn't flex under pressure.
- Cut and Secure the Netting Without Tearing: Unroll the net and locate the marker threads woven into the bundle to keep it square. Cut it slightly oversized rather than to the exact measurement. Starting at one corner, attach it to the cable with hog rings or UV-rated cable ties, working evenly along each side so you're not pulling one section tighter than the rest.
- Tension and Trim: Keep the net taut as you fasten it. Sagging is the single biggest reason netting fails, since loose sections give birds a foothold to push through. Once the whole perimeter is secured without gaps, trim the excess with sharp shears.
Installing Bird Netting Around Different Areas of Your Property
The right technique changes depending on what you're netting, so here's how to approach each common spot around a Melbourne property.
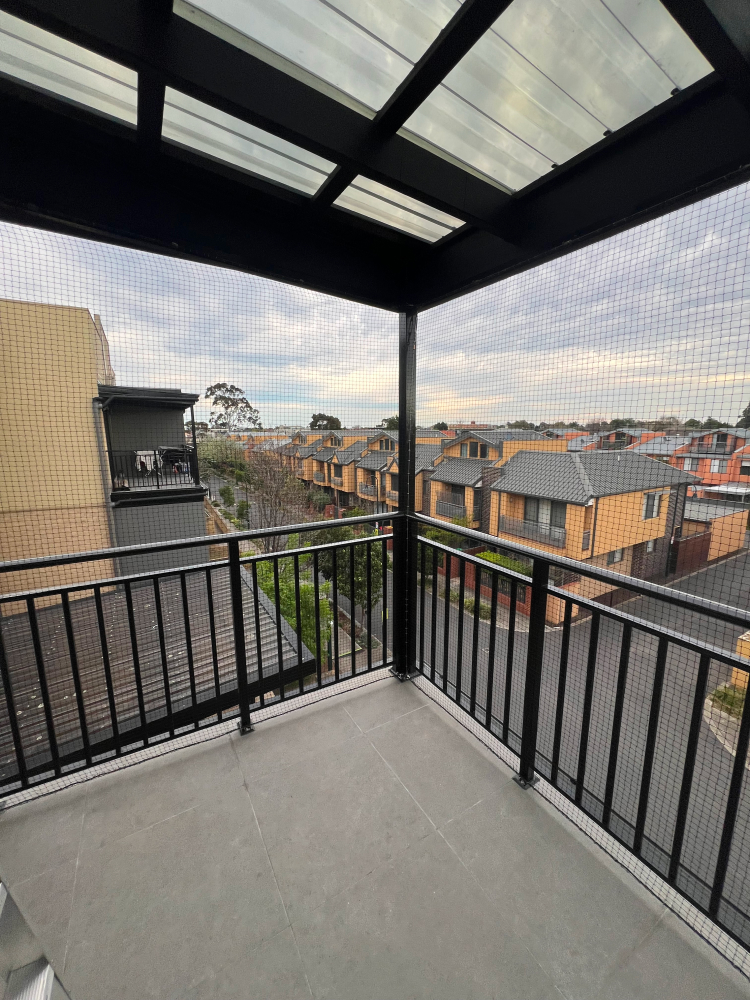
How to Install Bird Netting on a Balcony
Run a perimeter cable along the balustrade and ceiling line, then hog-ring the net to it, leaving enough slack to open doors and windows freely.
How to Install Bird Netting on a Balcony Without Drilling
Use tension rods, weighted clip systems, or adhesive-mounted hooks instead of drilled anchors. This works well for renters and keeps the structure fully intact.
How to Install Bird Netting on a Roof
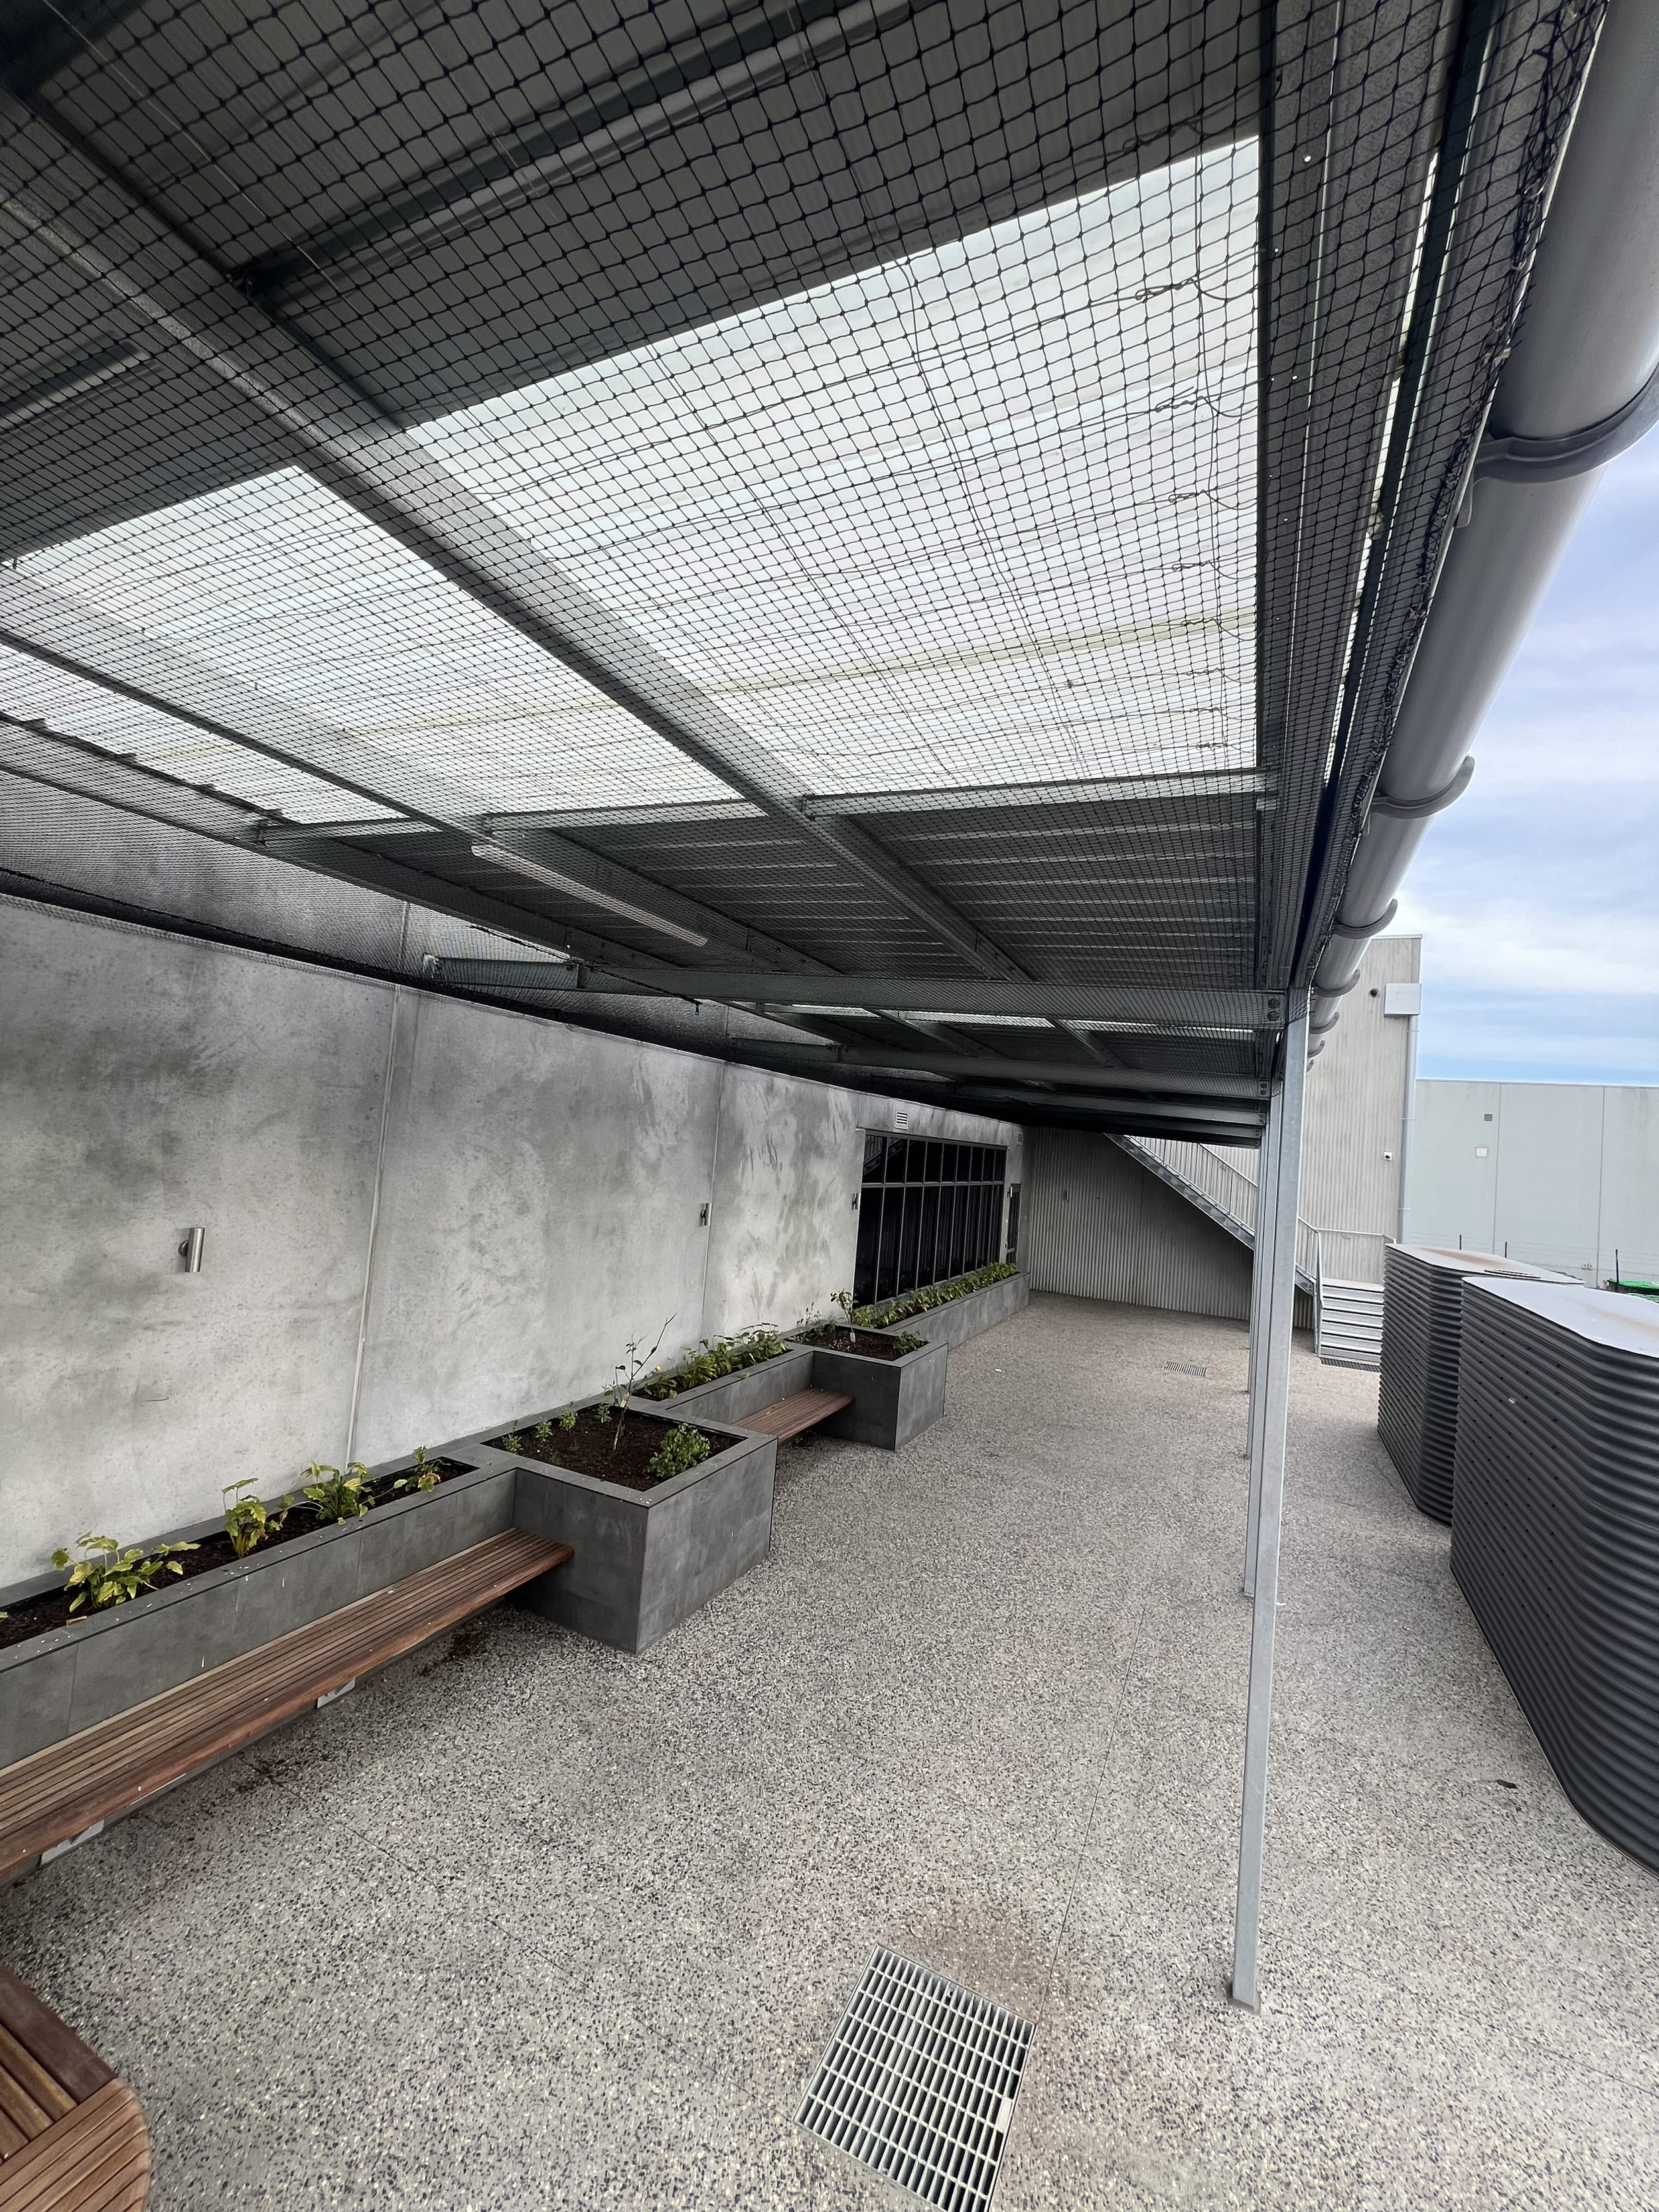
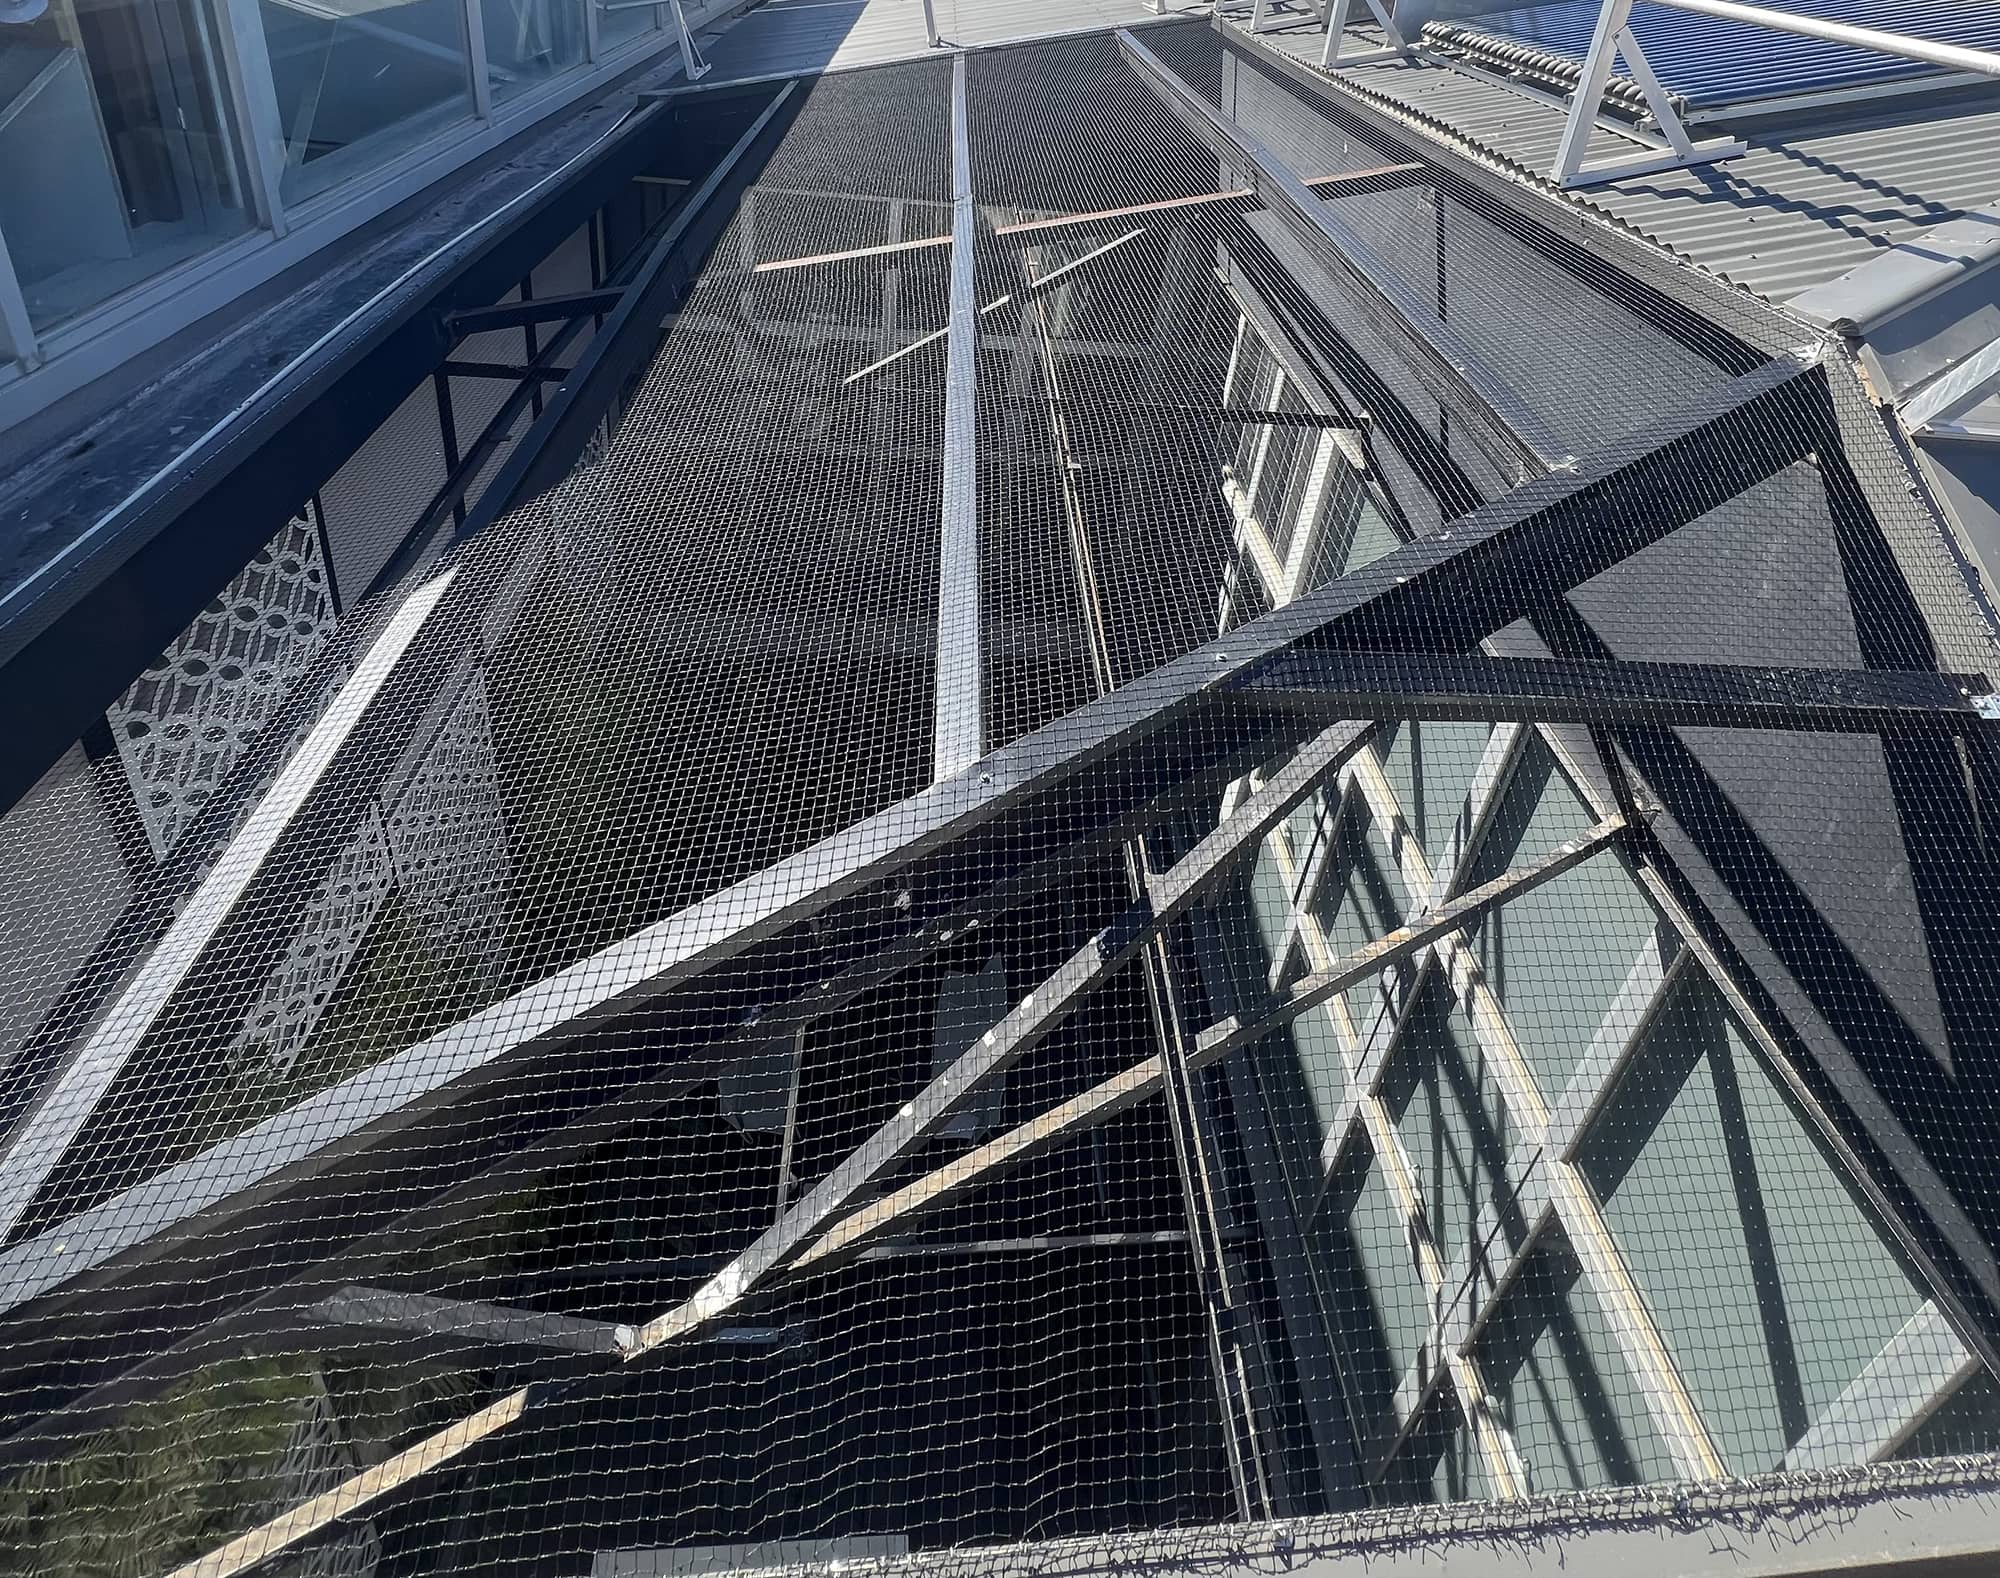
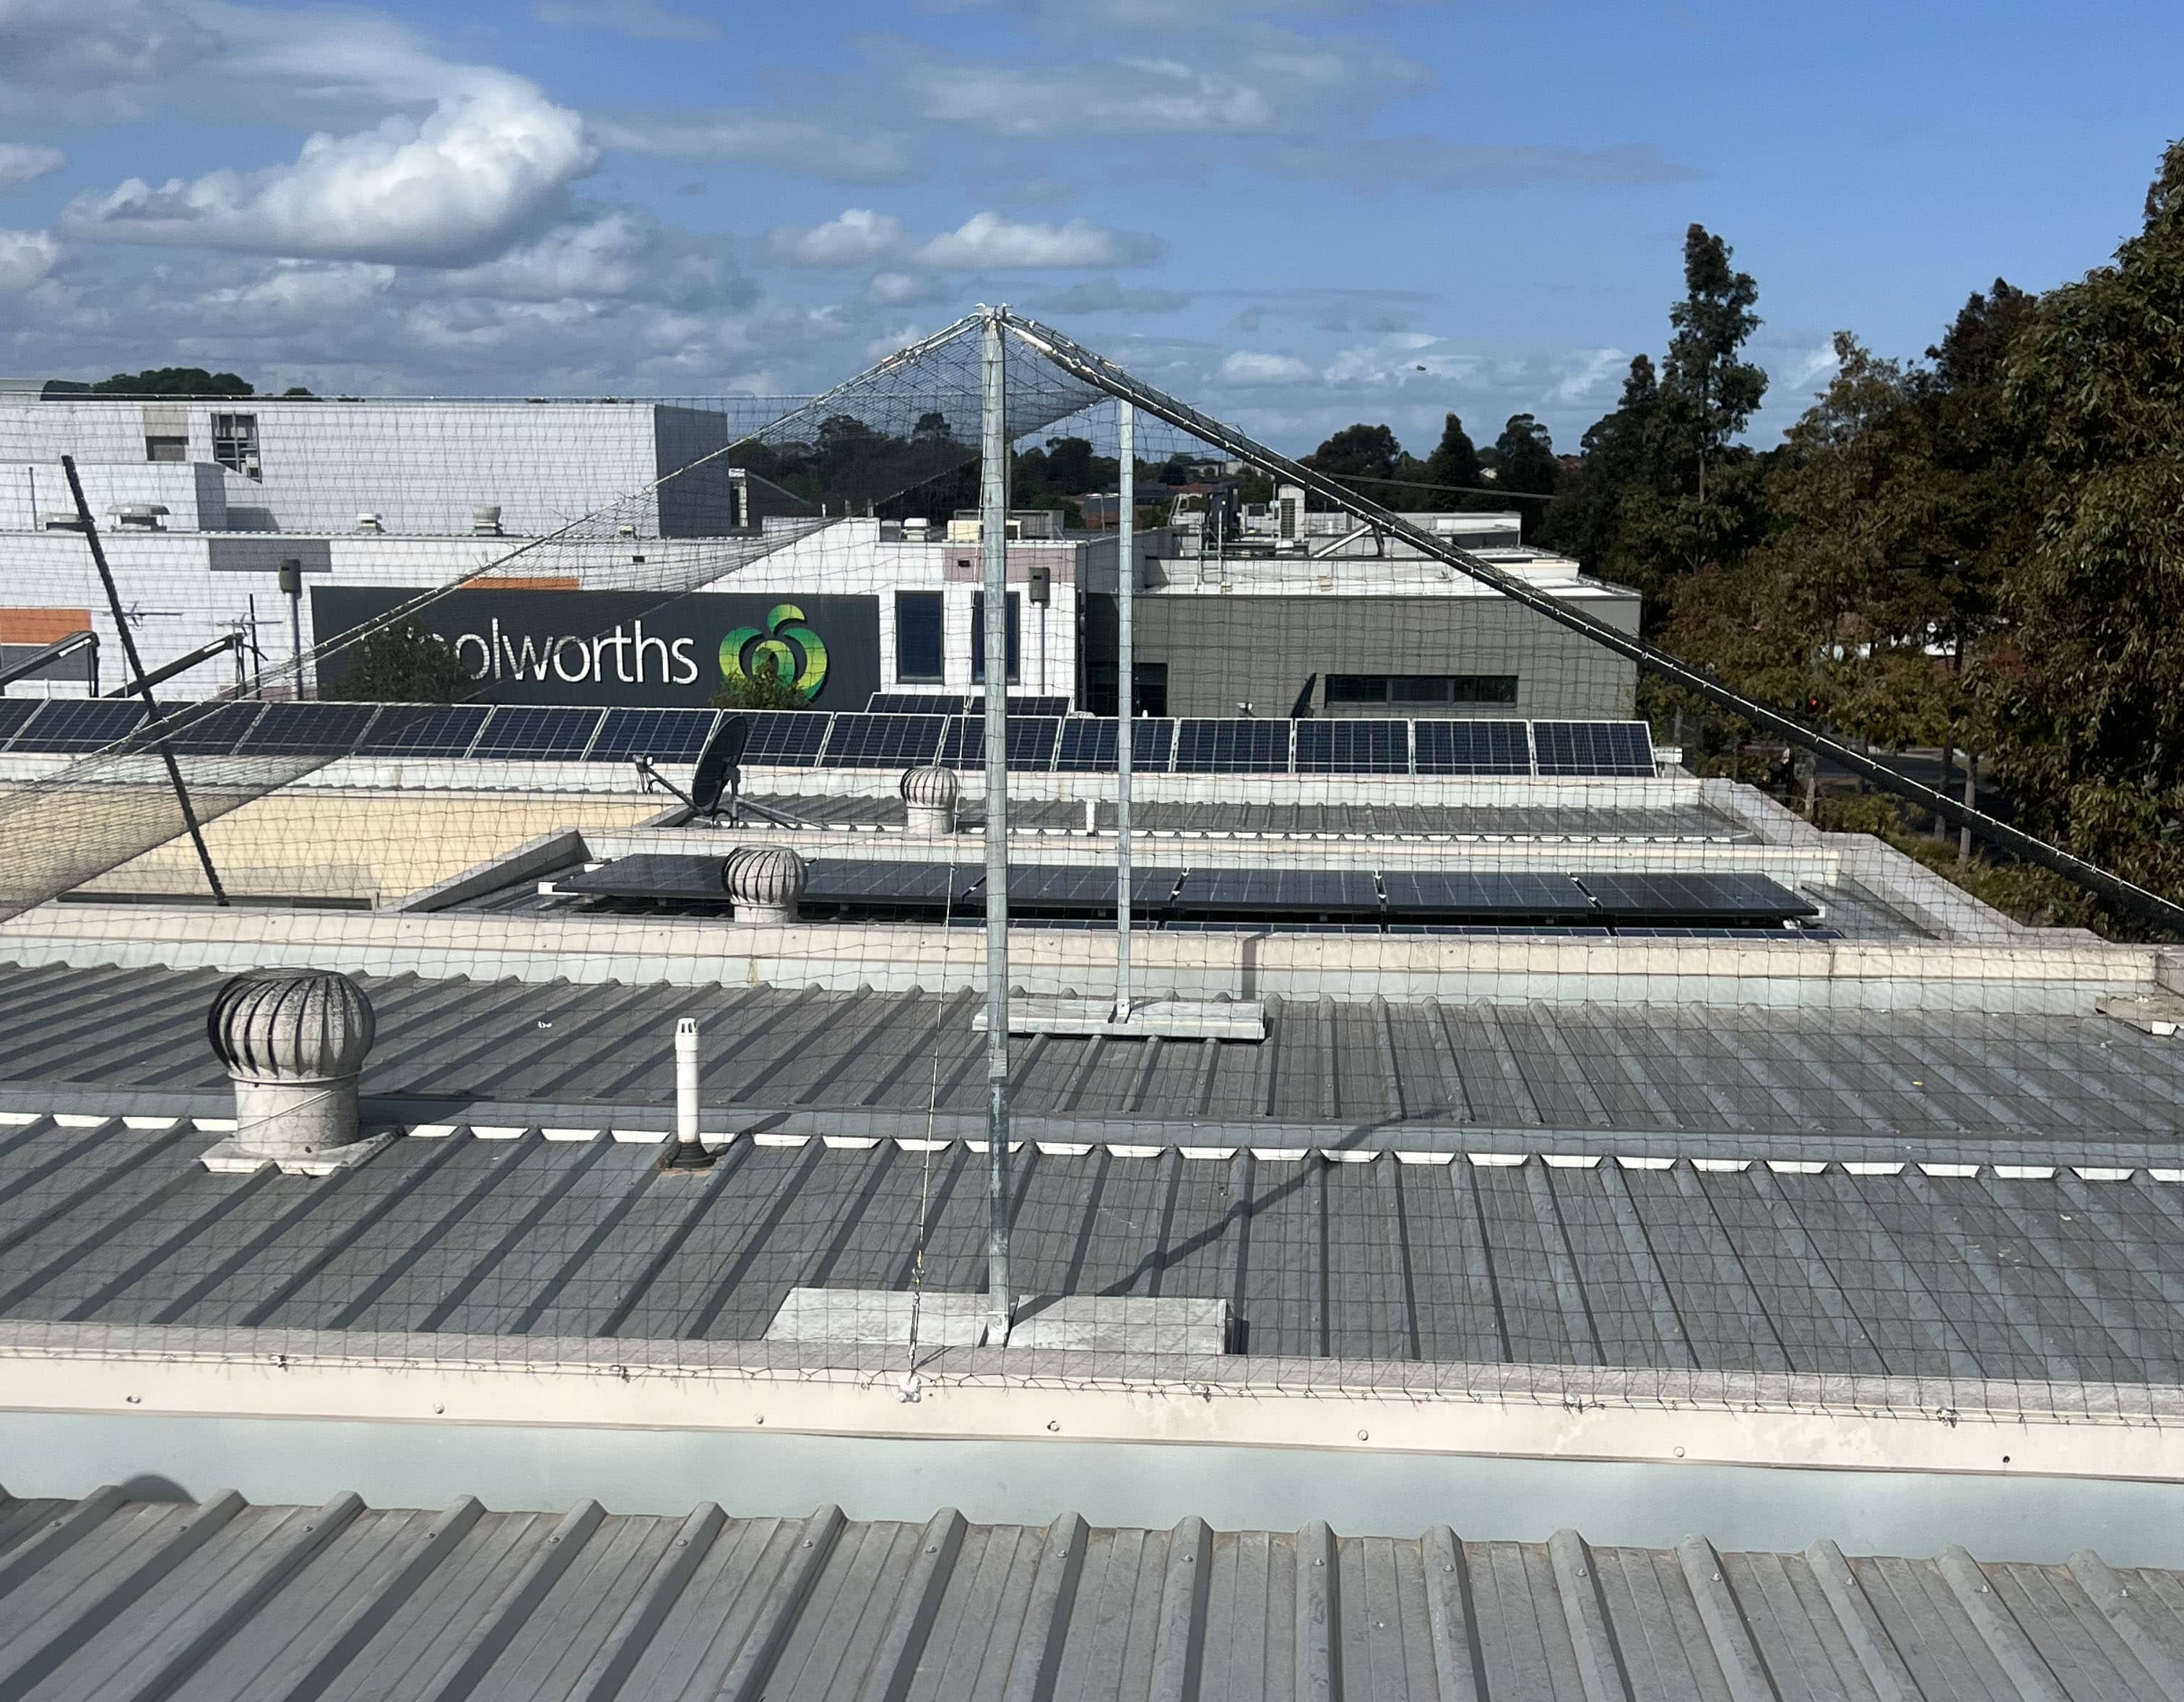
Anchor into rafters or purlins where possible, and always work from a secure ladder or scaffold, since roof installs carry the highest fall risk of any DIY netting job.
How to Install Bird Netting Over Trees
For smaller trees, drape the net directly over the canopy with equal length hanging on each side. For larger or fruiting trees, a framed perimeter gives more even, long-term coverage. See our residential fruit netting guide for more on protecting fruit trees specifically.
How to Install Bird Netting Over a Garden
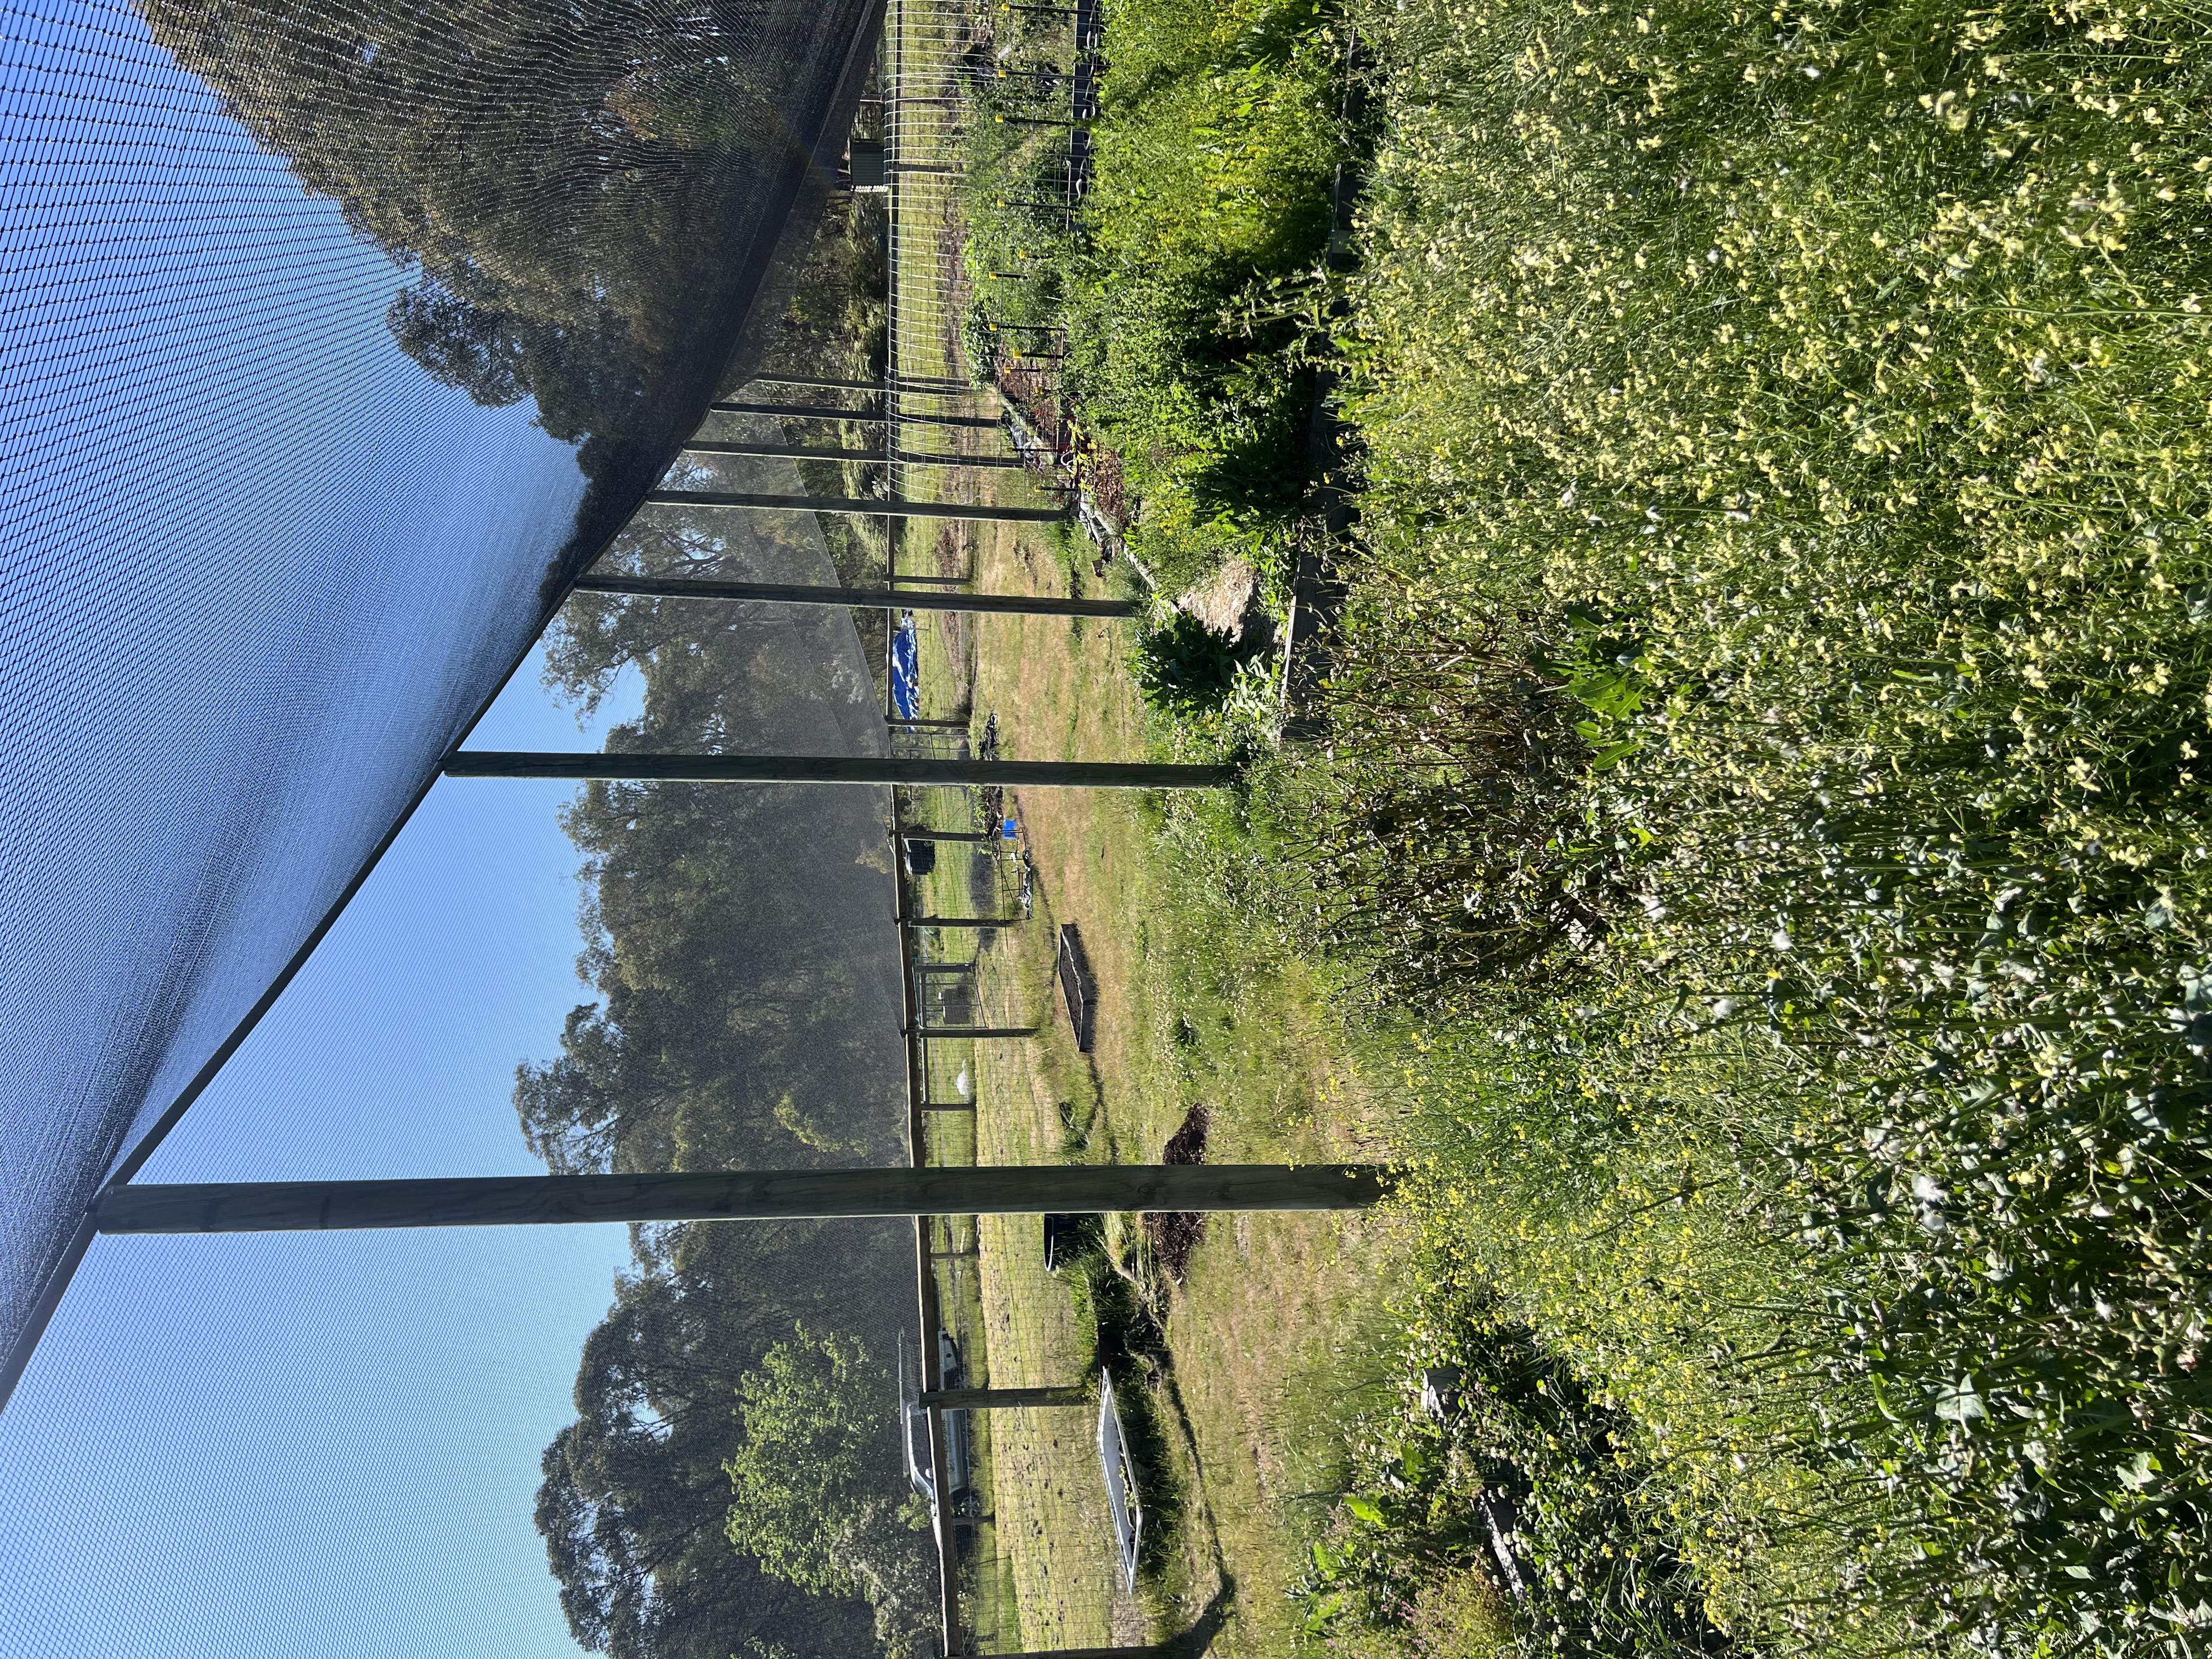
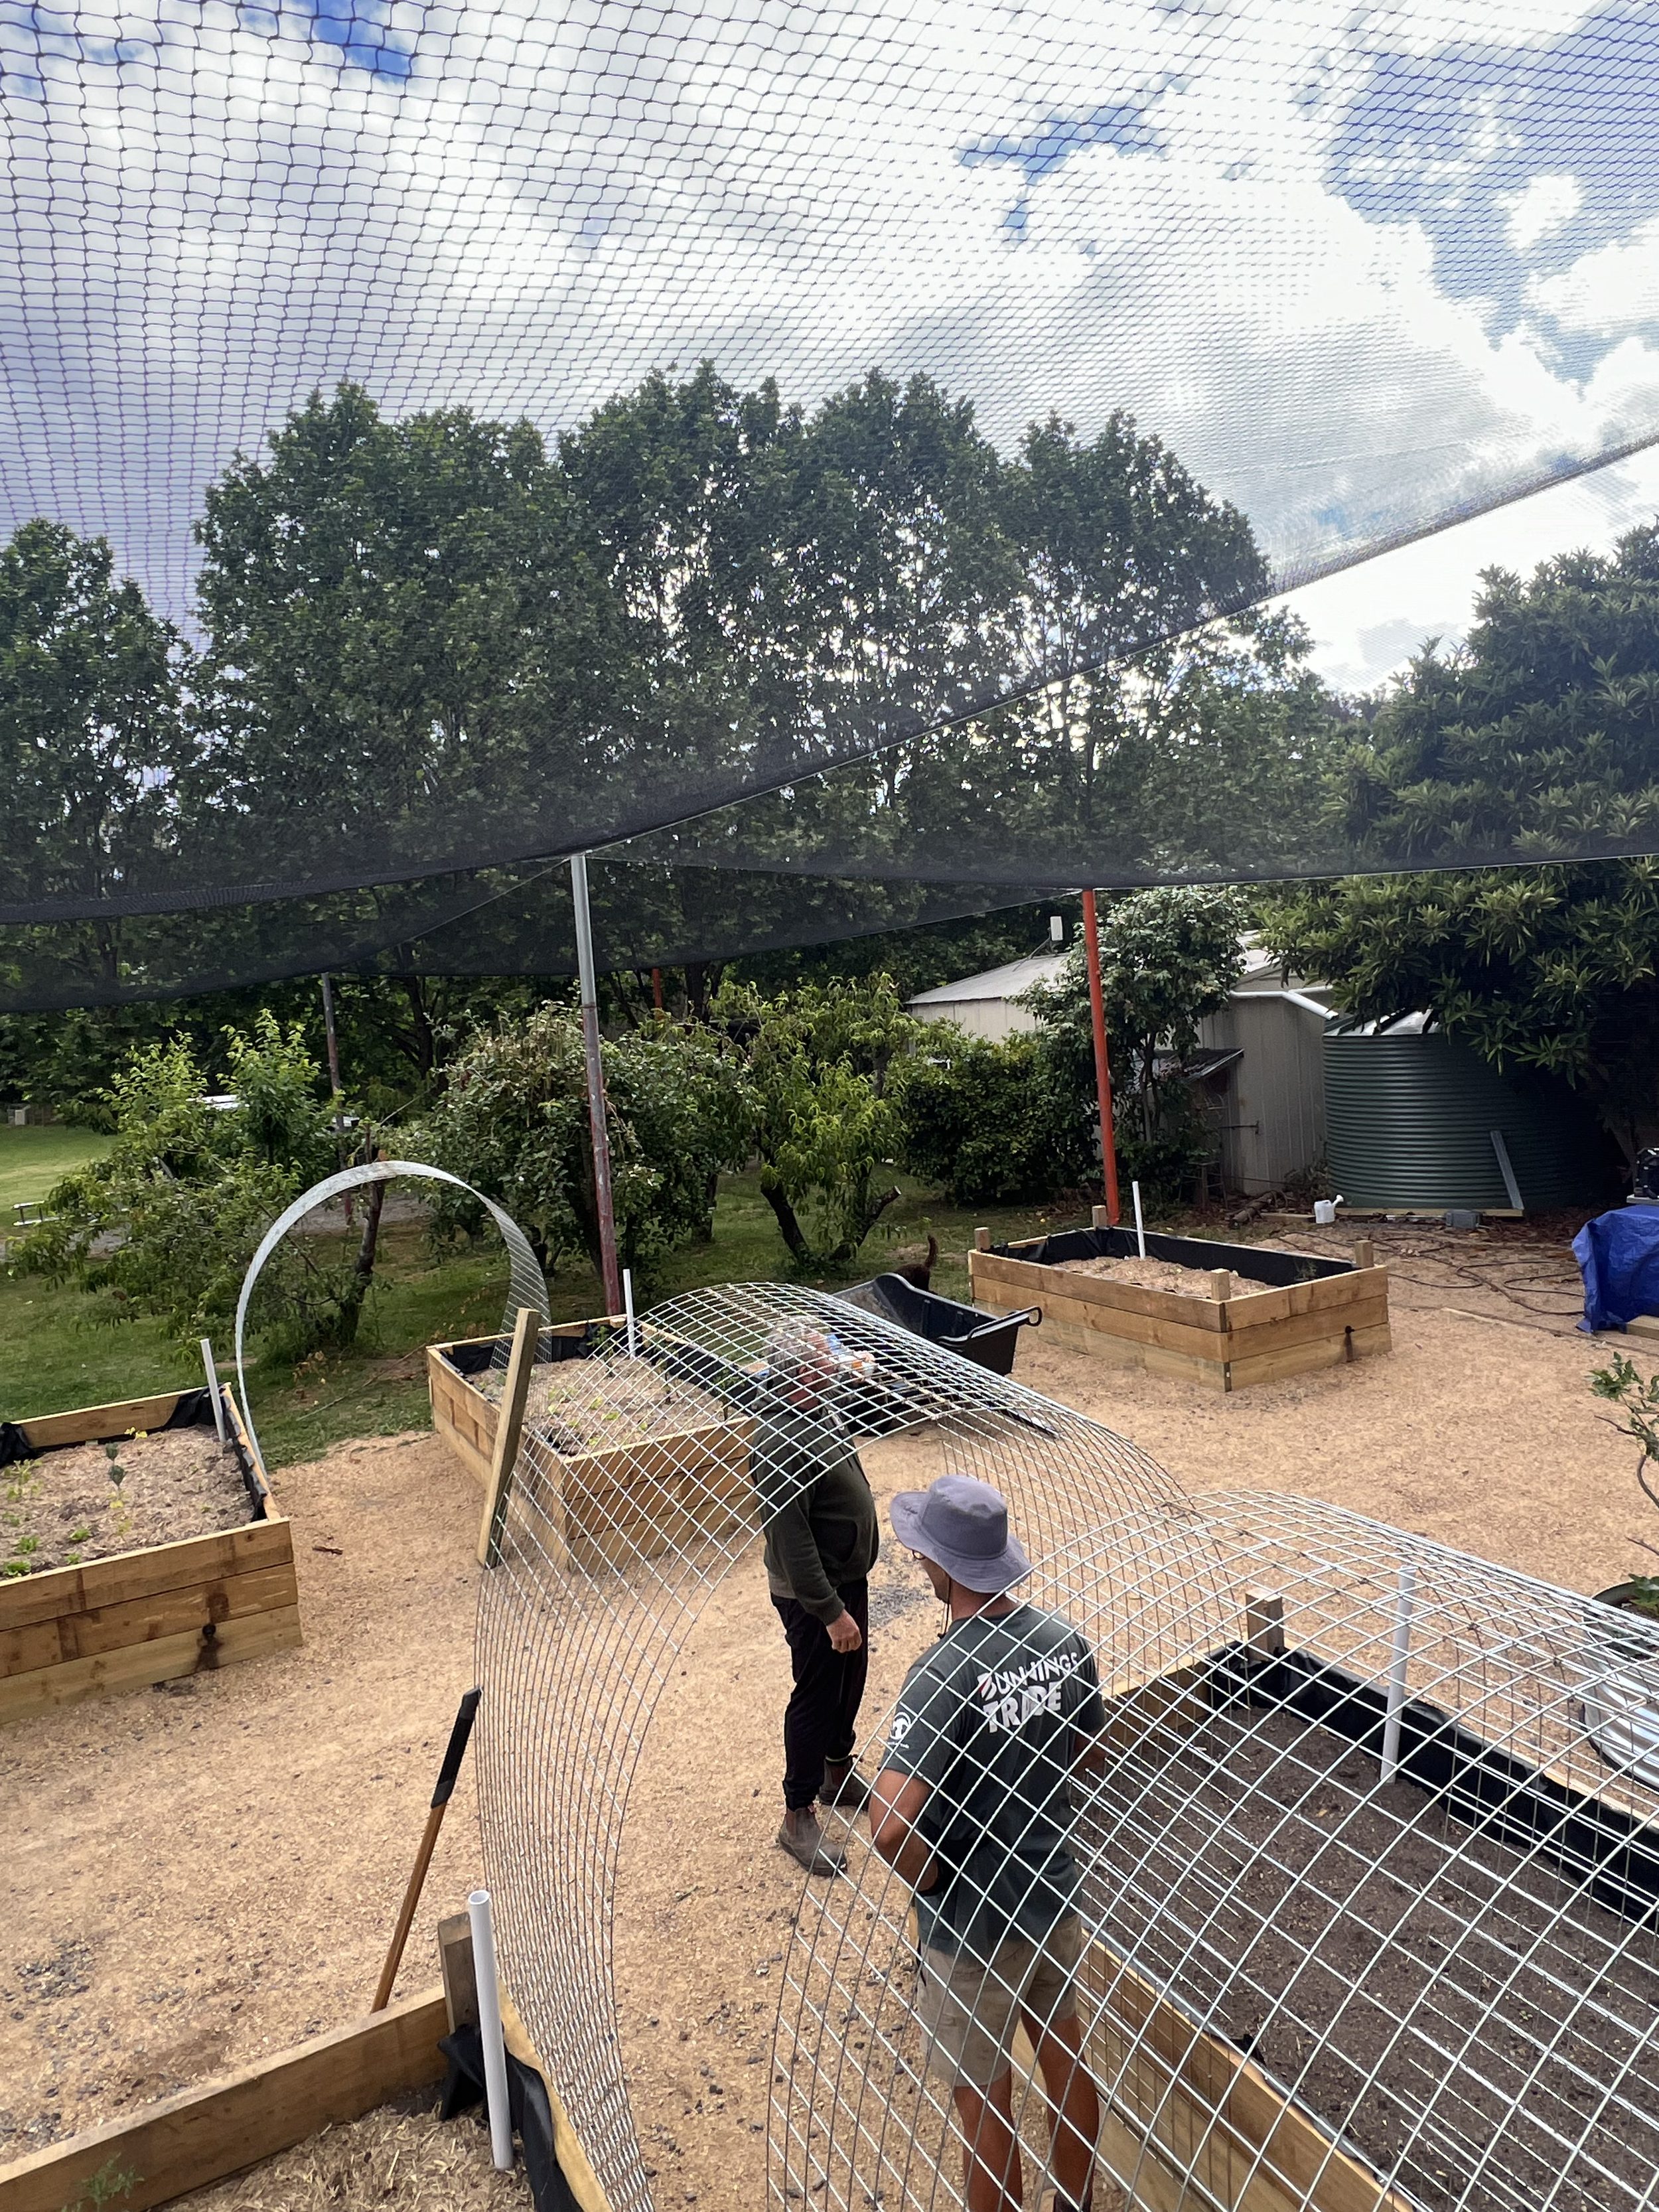
Frame the garden bed with stakes or posts, then stretch netting over the top and peg it down at ground level. In Victoria, household fruit and vegetable netting must use a 5mm x 5mm mesh or smaller to stay wildlife-friendly, which we cover in the regulations section below. A professional orchard netting installation service can help install the right netting on larger-scale garden and orchard setups.
How to Install Bird Netting Under Eaves
Fix intermediate anchors directly into the fascia or eave line, then run the net flush against the roofline to close off roosting gaps completely.
How to Install Bird Netting Over a Chicken Run
Use a stronger 19mm or 50mm mesh across the top of the run, secured to the fence line or a simple frame, to keep wild birds out without restricting airflow.
Tools and Materials You Need for Bird Netting Installation
Before you start, here's a quick checklist of everything you'll need to get the job done properly.
- UV-stabilised HDPE netting, mesh sized to the target bird
- Corner eyebolts or anchors suited to your surface (concrete, brick, timber, or metal)
- Stainless steel wire rope, ferrules, and turnbuckles
- Hog rings and a hog ring tool, or heavy-duty UV-rated cable ties
- Drill, tape measure, ladder or harness, gloves, and sharp shears
Mesh size and material grade matter more than most people expect. If you want a deeper breakdown of which netting suits which job, our guide to choosing the right backyard netting covers that in detail.
Common Mistakes When Installing Bird Netting
The following mistakes can be costly, wasting your time, effort, and money, so make sure to avoid them.
- Leaving gaps at corners or where two net panels meet
- Under-tensioning, which leads to sagging and eventual failure
- Using the wrong mesh size for the target bird
- Fitting non-compliant mesh that risks trapping wildlife instead of excluding it
- Installing over a nest that's already active, which raises legal issues in Victoria
Bird Netting Installation Cost in Melbourne
Cost depends on the size of the area, the mesh grade, and how difficult the site is to access. Here's a general guide:
| Area / Job Type | Typical Cost Range (AUD) |
|---|---|
| Small balcony or garden bed | $300 – $800 |
| Backyard fruit tree or orchard section | $600 – $1,800 |
| Full house eaves and roofline | $1,500 – $4,000 |
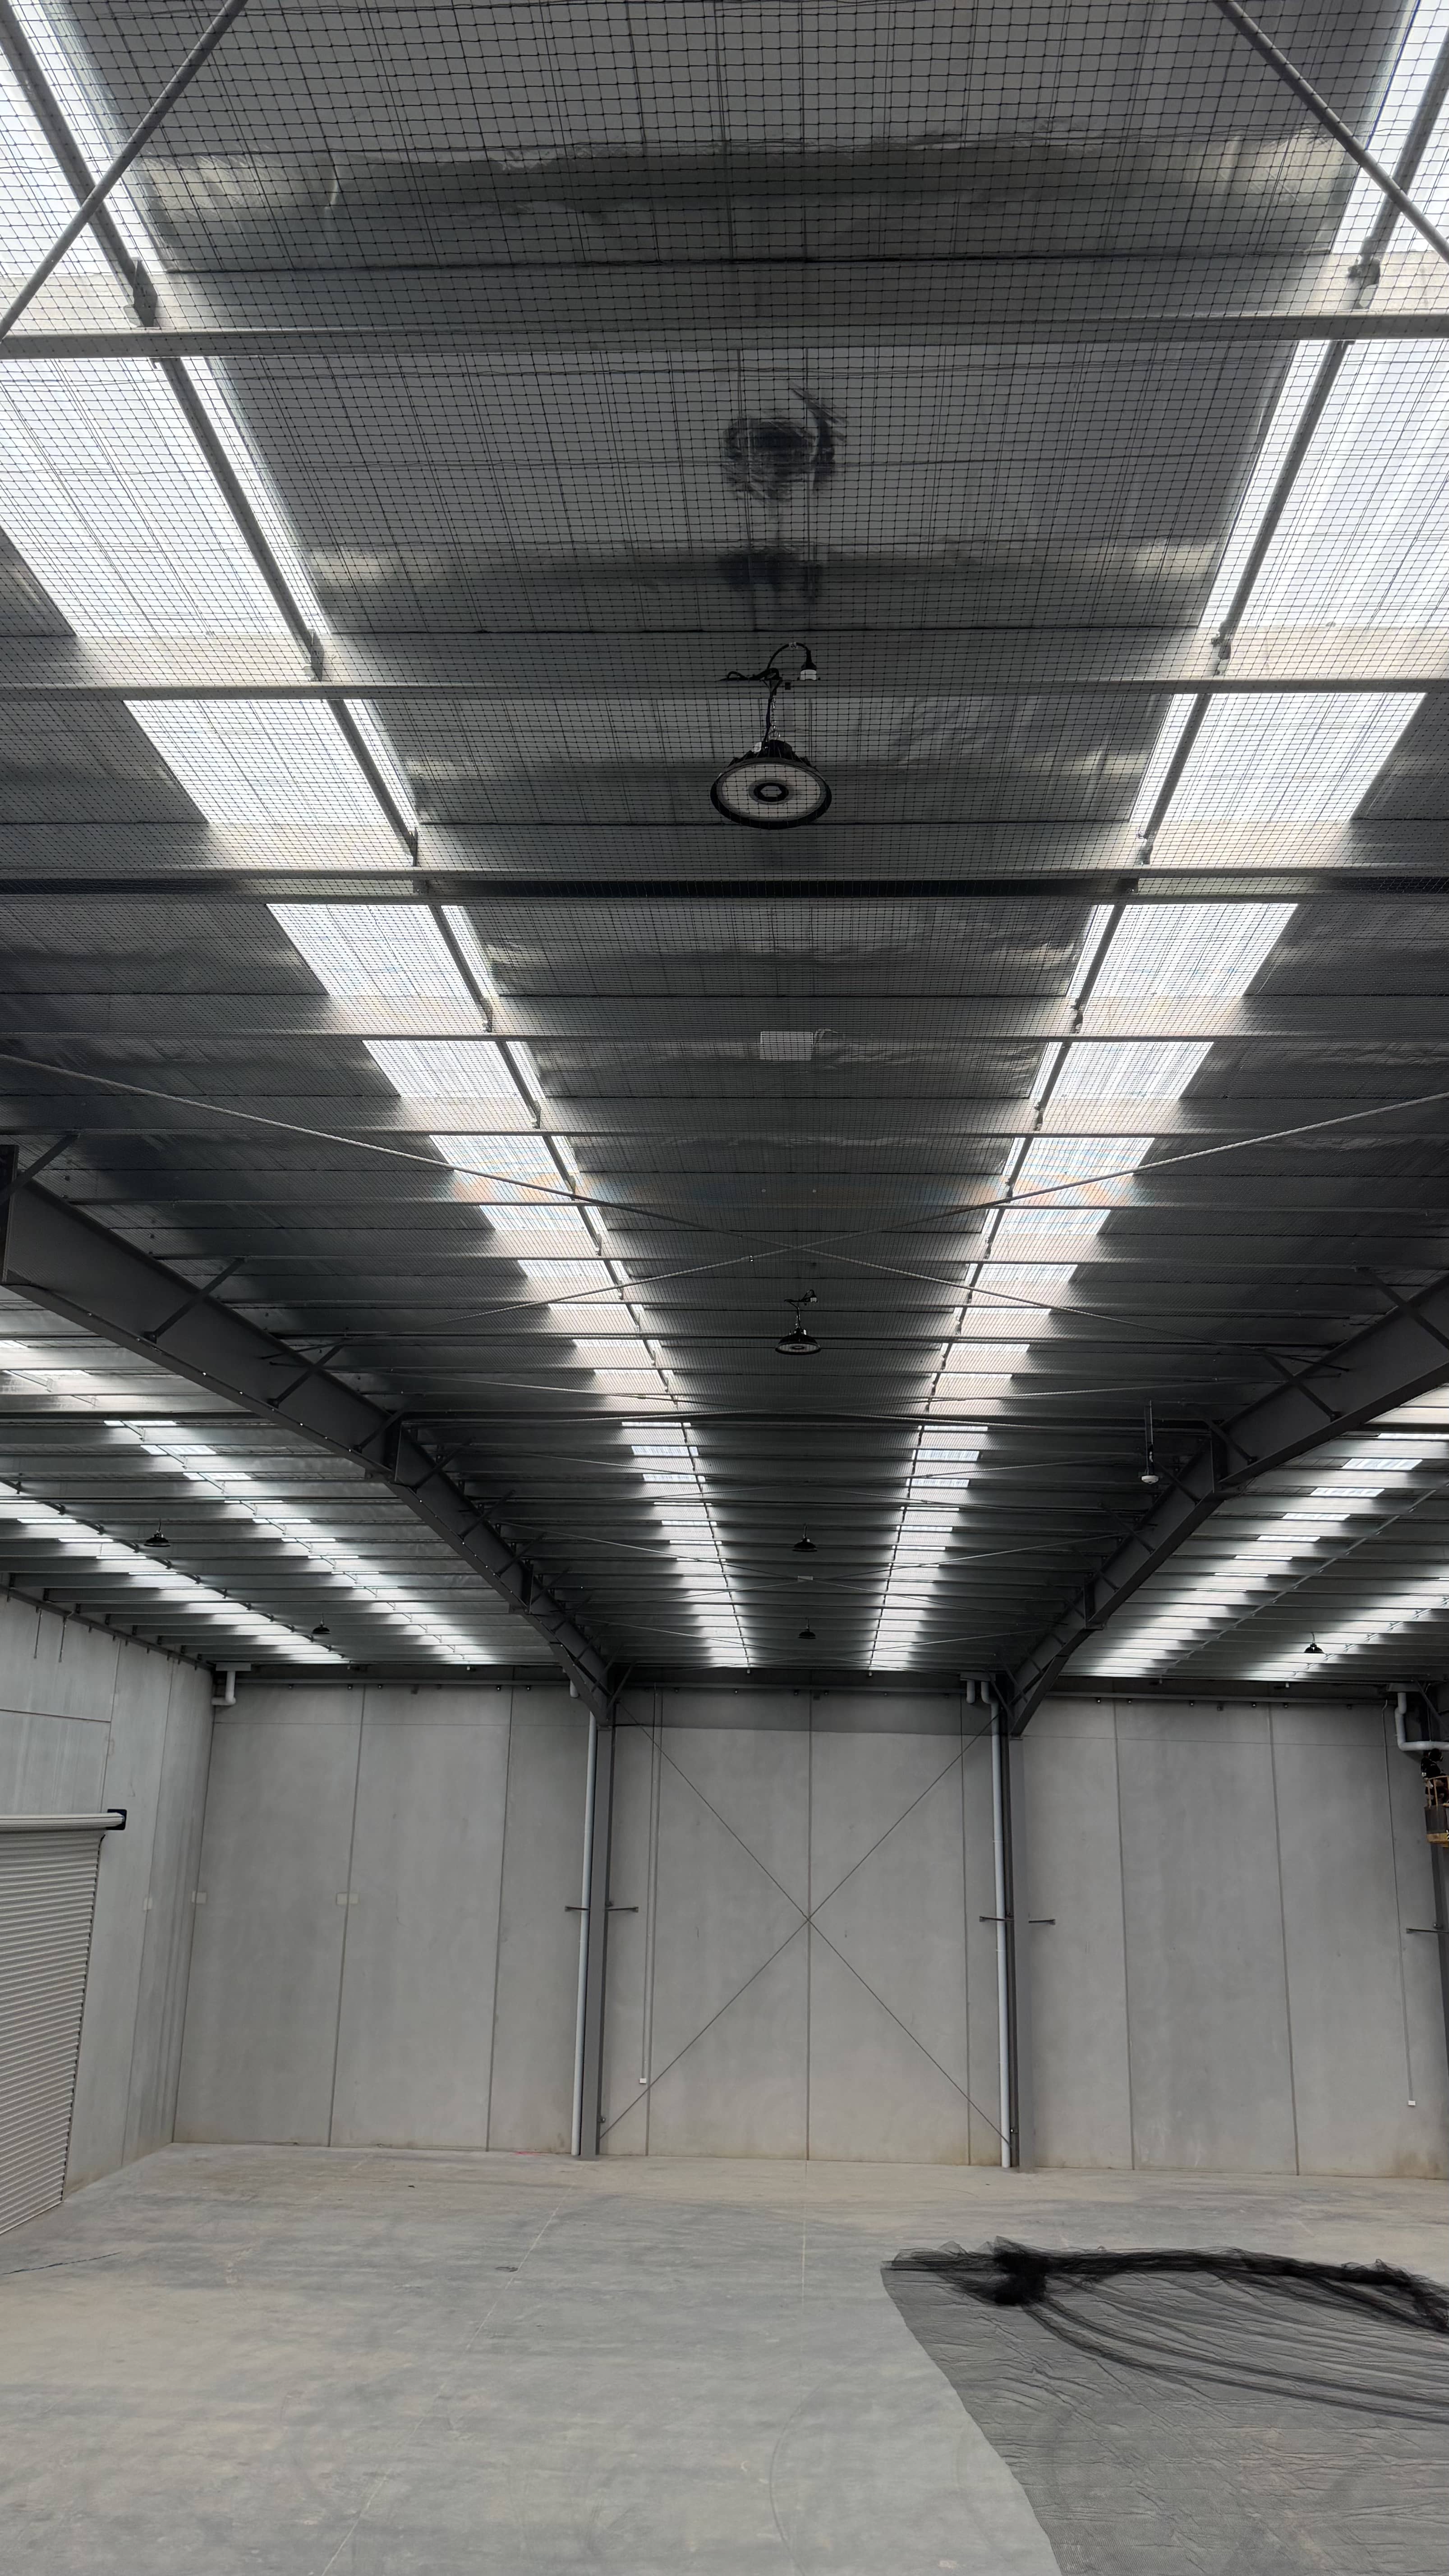
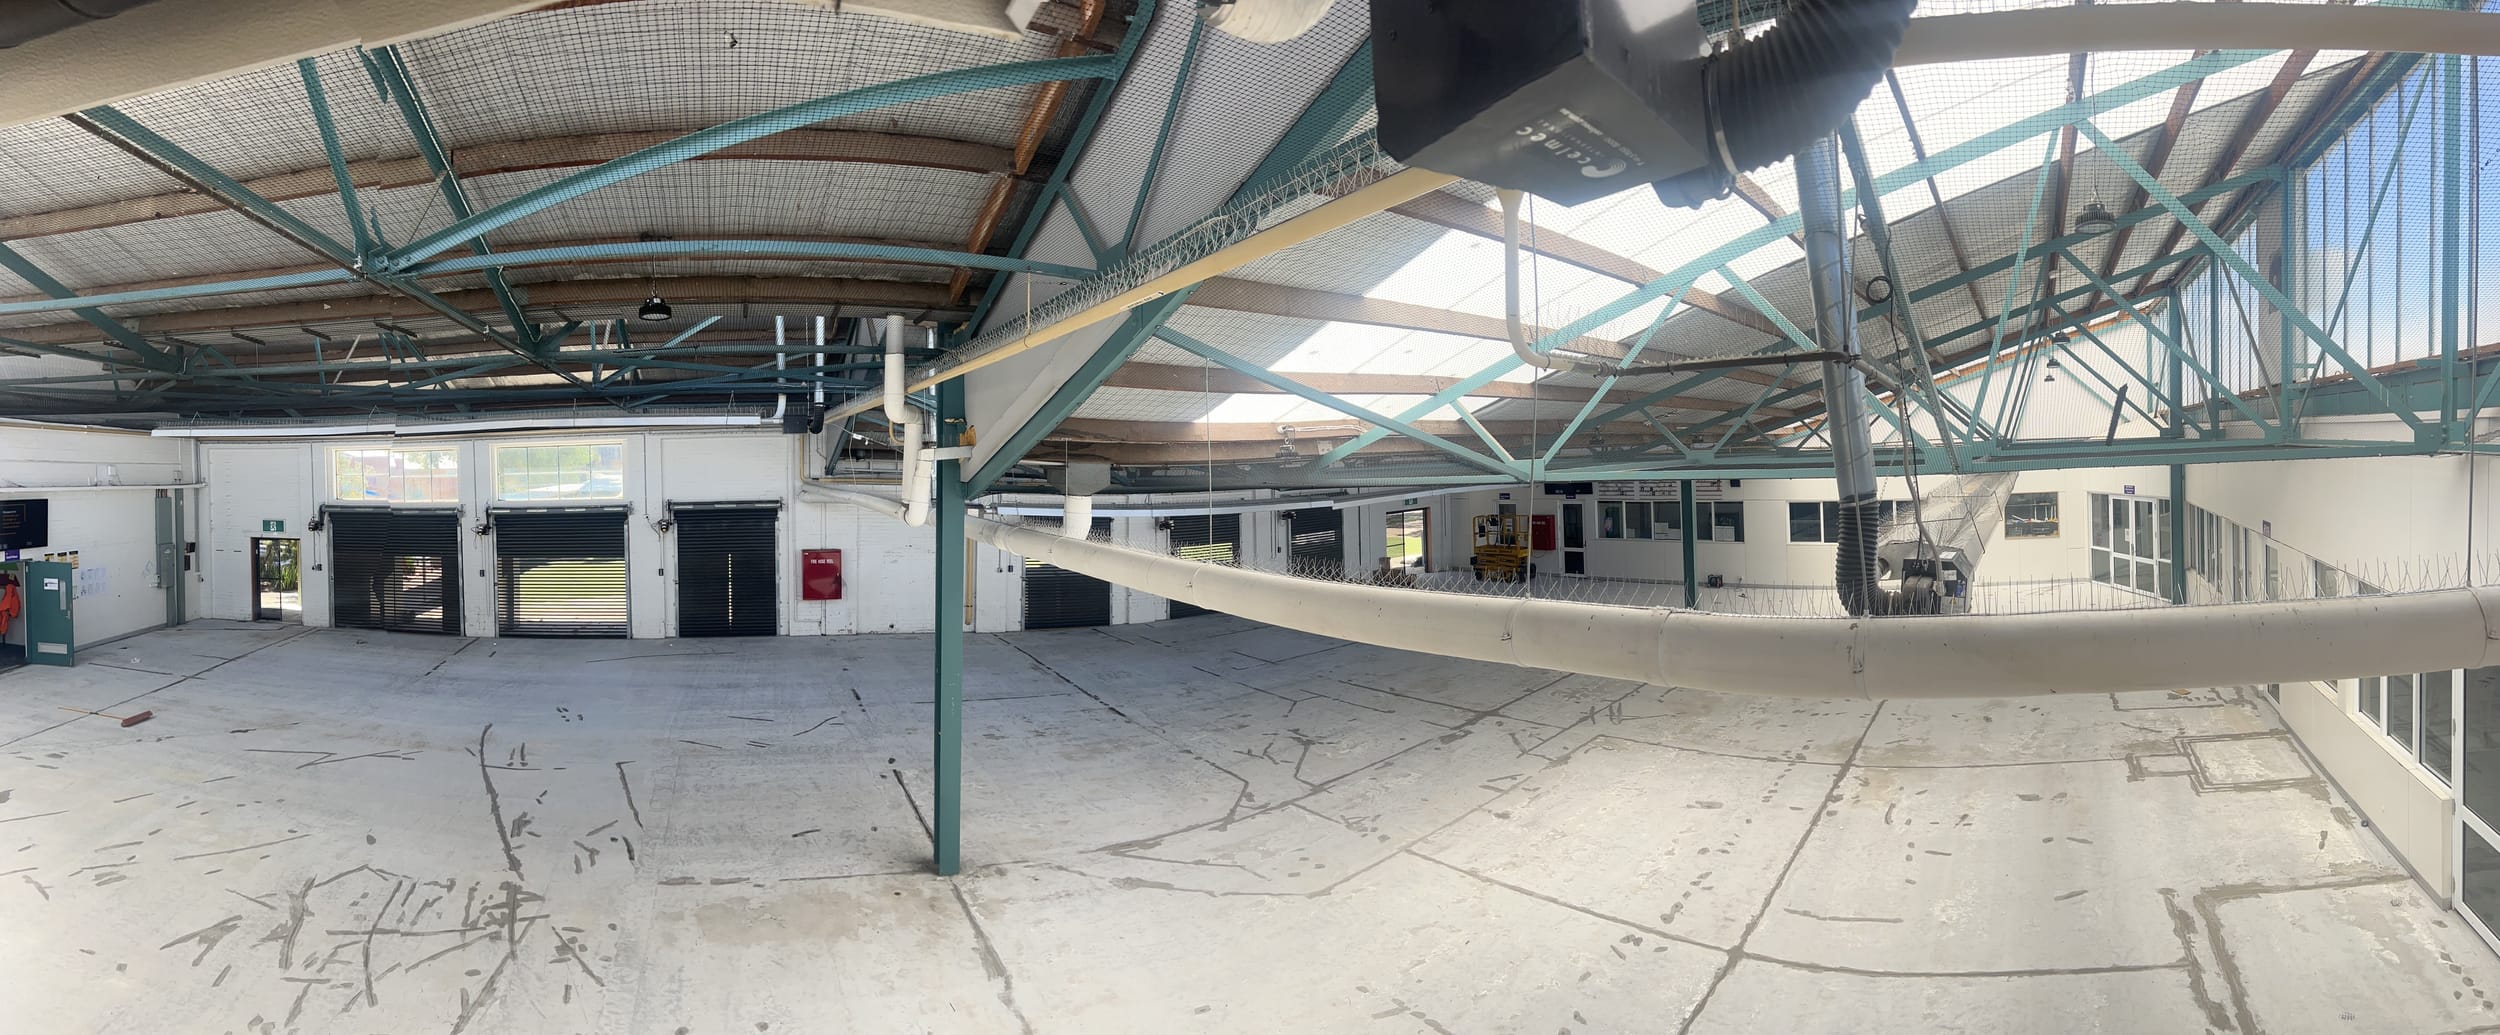
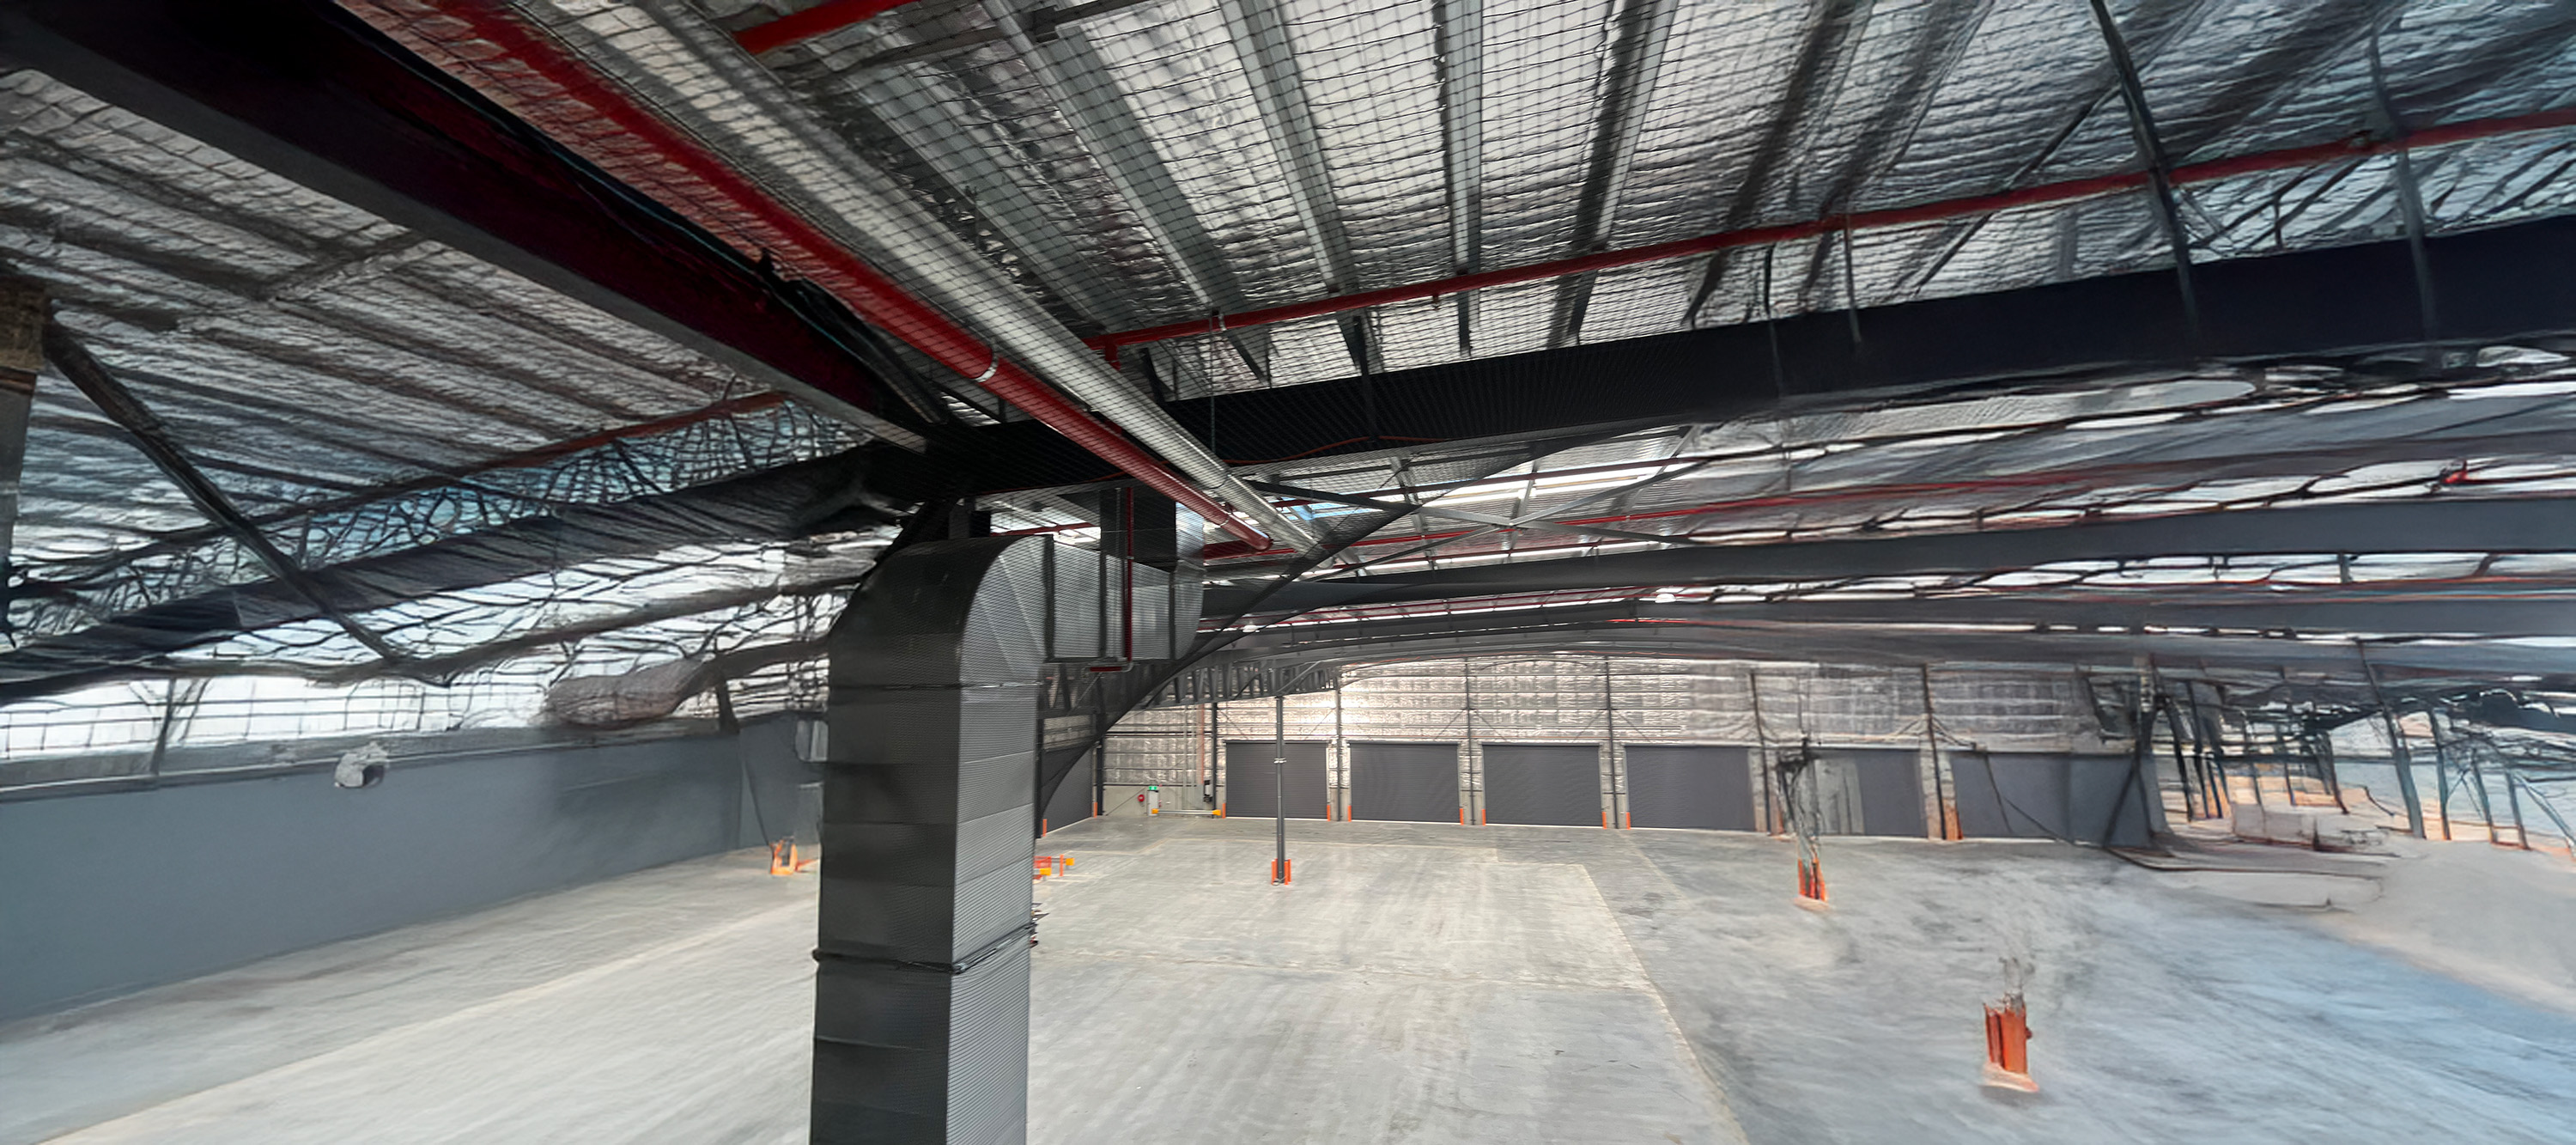
| Large commercial or industrial roof | $4,000+ |
A DIY netting kit for a small area might only cost $100 to $200 in materials, but professional installation adds tensioning expertise, correct anchoring, and a workmanship guarantee that DIY kits don't include. For a full breakdown of when each approach makes sense, see our guide on whether you need professional installation services or if DIY can help.
Local Regulations to Know Before You Install Bird Netting
In Australia, household netting used to protect fruit trees and vegetable gardens must have a mesh aperture of 5mm x 5mm or smaller at full stretch, under rules set out by Agriculture Victoria.
Separately, native birds and their active nests are protected under the Wildlife Act 1975, and disturbing a nest without authorisation can require an Authority to Control Wildlife permit.
Installing compliant exclusion netting doesn't require a permit, but it's worth checking before you start if there's already bird activity on site.
Leave the Ladder to Us: Get Bird Netting Installed Right the First Time
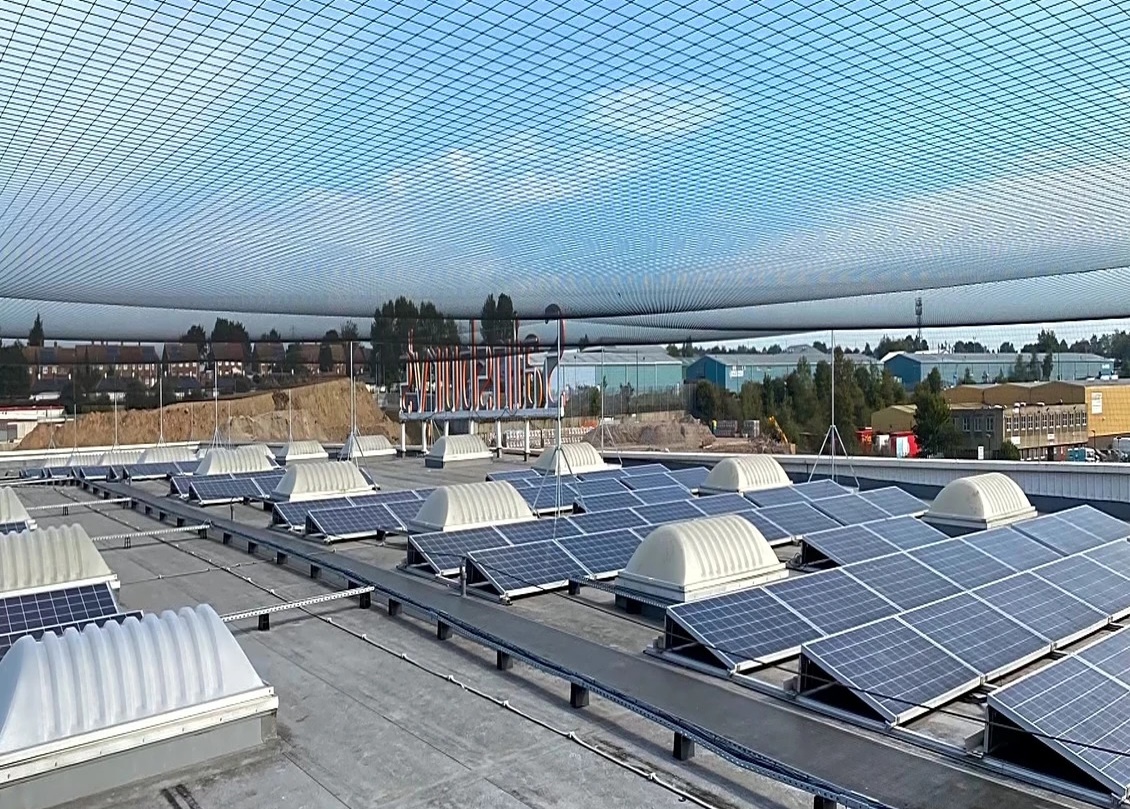
Rooflines, solar panels, and multi-storey balconies all raise the stakes on a netting job. A section that sags or a gap left at one corner is often all it takes for birds to get back in, and re-doing a botched install usually costs more than getting it right the first time.
Our team handles bird netting installation and broader bird proofing services across Melbourne and surrounding suburbs.
Get in touch with Melbourne Bird Solutions for a free quote, and we'll assess your property and recommend the right solution.
Frequently Asked Questions
1. How do I install bird netting on a balcony without drilling?
Use tension rods, weighted clips, or adhesive hooks along the balustrade and ceiling line instead of drilled anchors, which keeps the structure undamaged and suits rental properties well.
2. How much does bird netting installation cost in Melbourne?
Costs typically range from $300 for a small balcony to $4,000+ for a full roofline, depending on area size, mesh grade, and site access difficulty.
3. Do I need a permit to install bird netting in Victoria?
No permit is needed for compliant exclusion netting, but disturbing an active nest requires an Authority to Control Wildlife permit under the Wildlife Act.
4. Why does my bird netting keep sagging?
Sagging usually means the perimeter cable wasn't tensioned enough, or intermediate fixings were spaced too far apart to properly support the mesh.
5. Can bird netting trap birds?
Poorly fitted or oversized mesh can trap birds. Using correctly sized, wildlife-friendly netting and keeping it taut greatly reduces this risk.
6. Is it better to DIY or hire a professional for bird netting installation?
DIY suits small, low, easy-access areas. For roofs, solar panels, or large spaces, professionals ensure proper tensioning.
7. What should I ask a bird netting contractor before hiring them?
Ask about mesh grade and compliance, anchoring method for your surface, workmanship warranty, and whether the quote covers ongoing maintenance or repairs.